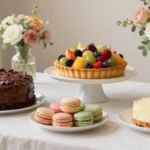
The Great British Baking Show has introduced countless viewers to the magic of baking, showcasing recipes that celebrate tradition and creativity.
One such recipe that stands out is the classic Victoria Sponge Cake, a quintessential British treat that embodies the spirit of afternoon tea.
With its light sponge, velvety cream, and sweet jam, this cake offers a delightful balance of flavors and textures that is simply irresistible.
Whether you’re an experienced baker or a novice looking to impress, recreating this iconic cake at home is both achievable and rewarding.
The History and Cultural Significance
• The Victoria Sponge Cake traces its origins to the Victorian era in England, named after Queen Victoria, who enjoyed it with her afternoon tea.
• The cake evolved over the years as baking techniques improved, and it became a popular choice for tea gatherings and celebrations.
• In British culture, this cake traditionally appears at afternoon teas, birthday celebrations, and community events, symbolizing hospitality and comfort.
• While many variations exist, the authentic version maintains a light and airy sponge that sets it apart from denser cakes.
Recipe Overview
Nutritional Information (per serving)
Ingredients
Essential Equipment Guide
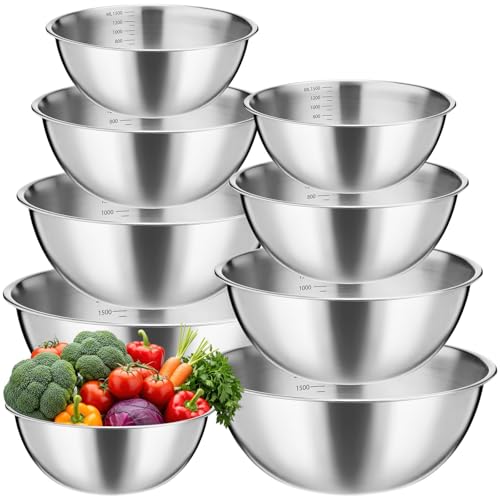
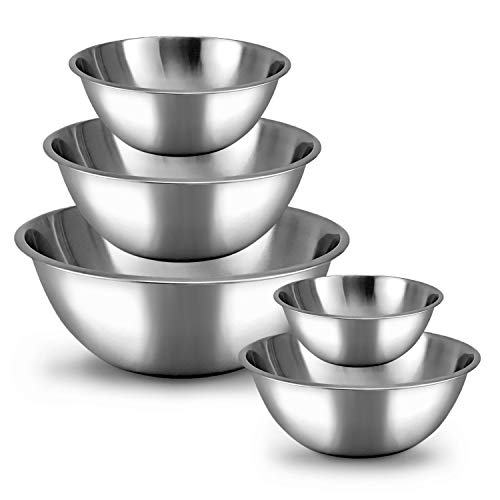
Mixing Bowl: A sturdy mixing bowl is crucial for combining ingredients efficiently. Look for a bowl that is large enough to accommodate your batter without spilling.
Electric Mixer: An electric mixer is important for achieving a light and fluffy sponge. A stand mixer can provide consistent results, but a handheld mixer works well too.
Cake Pans: The right size and type of cake pans ensure even baking. Round, non-stick cake pans facilitate easy release and help achieve a perfect shape.
Preparation Methods
Whipping Cream: Whipping cream is essential for the filling and should be whipped until soft peaks form. Be careful not to over-whip, which can lead to butter separation.
Sifting Flour: Sifting flour aerates it, resulting in a lighter sponge. This step is crucial for achieving the desired texture and helps prevent lumps in the batter.
Greasing and Lining Pans: Properly greasing and lining your cake pans prevents sticking. Use parchment paper for the base and grease the sides to ensure easy removal.
Step 1: Preheat the Oven
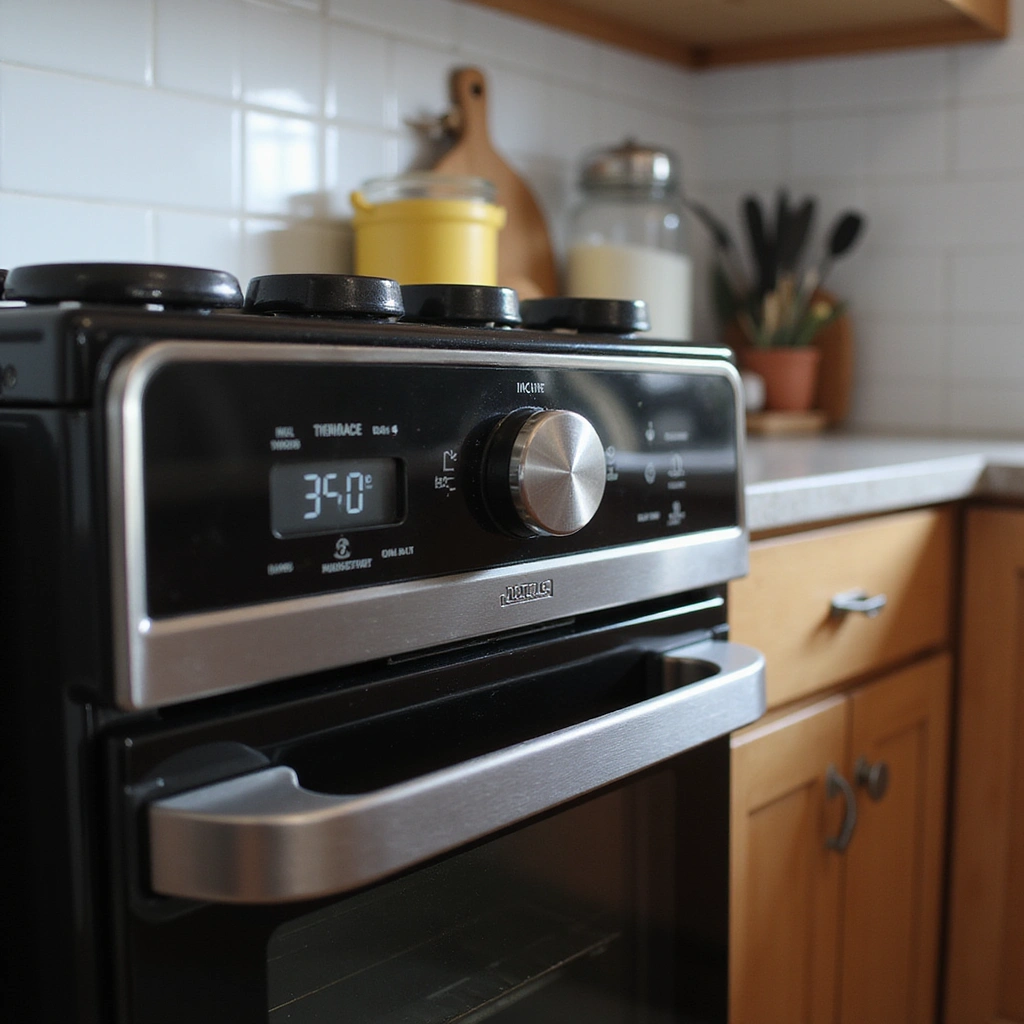
Begin by preheating your oven to 350°F (175°C).
This temperature is essential for even baking.
Make sure to allow the oven to fully heat before placing the cakes inside for optimal results.
Using an oven thermometer can help ensure accuracy in temperature.
Step 2: Prepare the Cake Pans
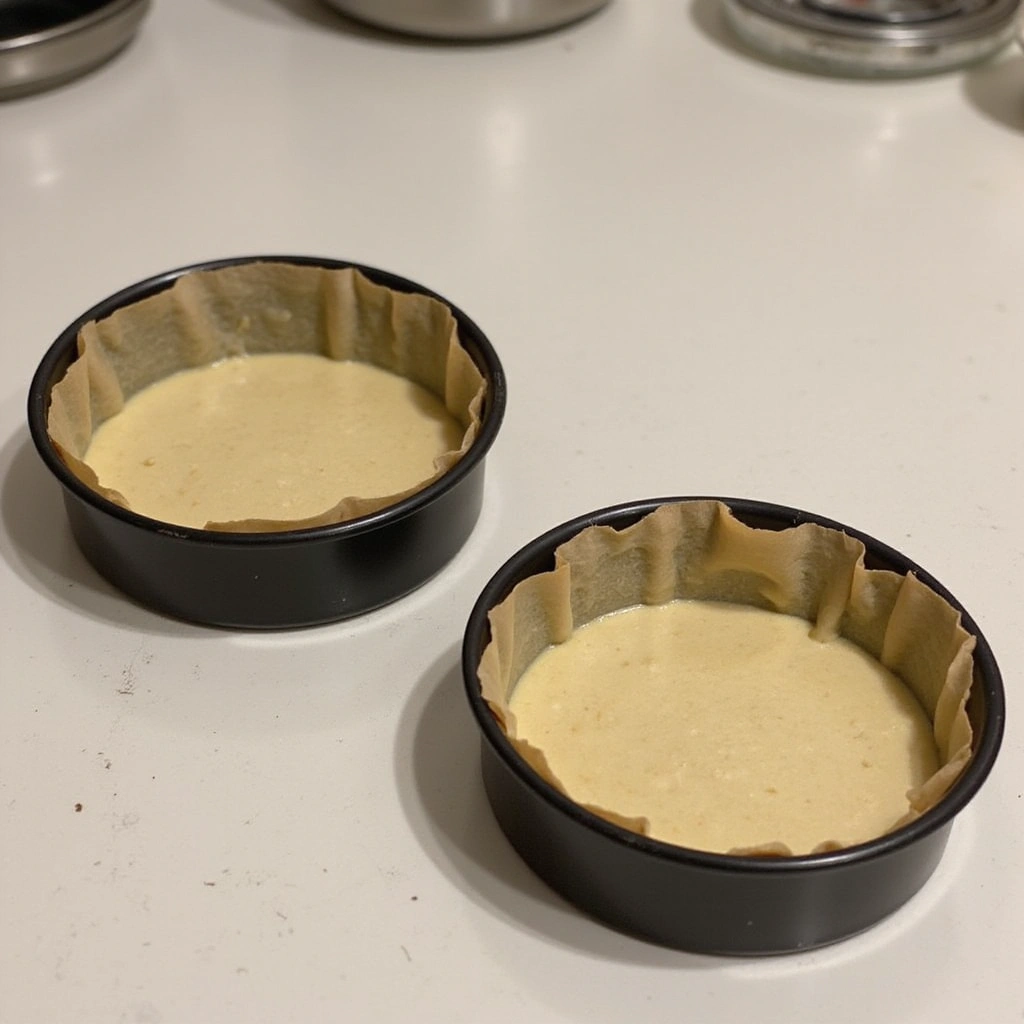
Grease two 8-inch round cake pans with butter or non-stick spray.
Cut parchment paper to fit the bottom of the pans and place it inside.
This helps prevent the cakes from sticking and ensures a clean release.
Be generous with the greasing to avoid any sticky spots.
Step 3: Cream Butter and Sugar
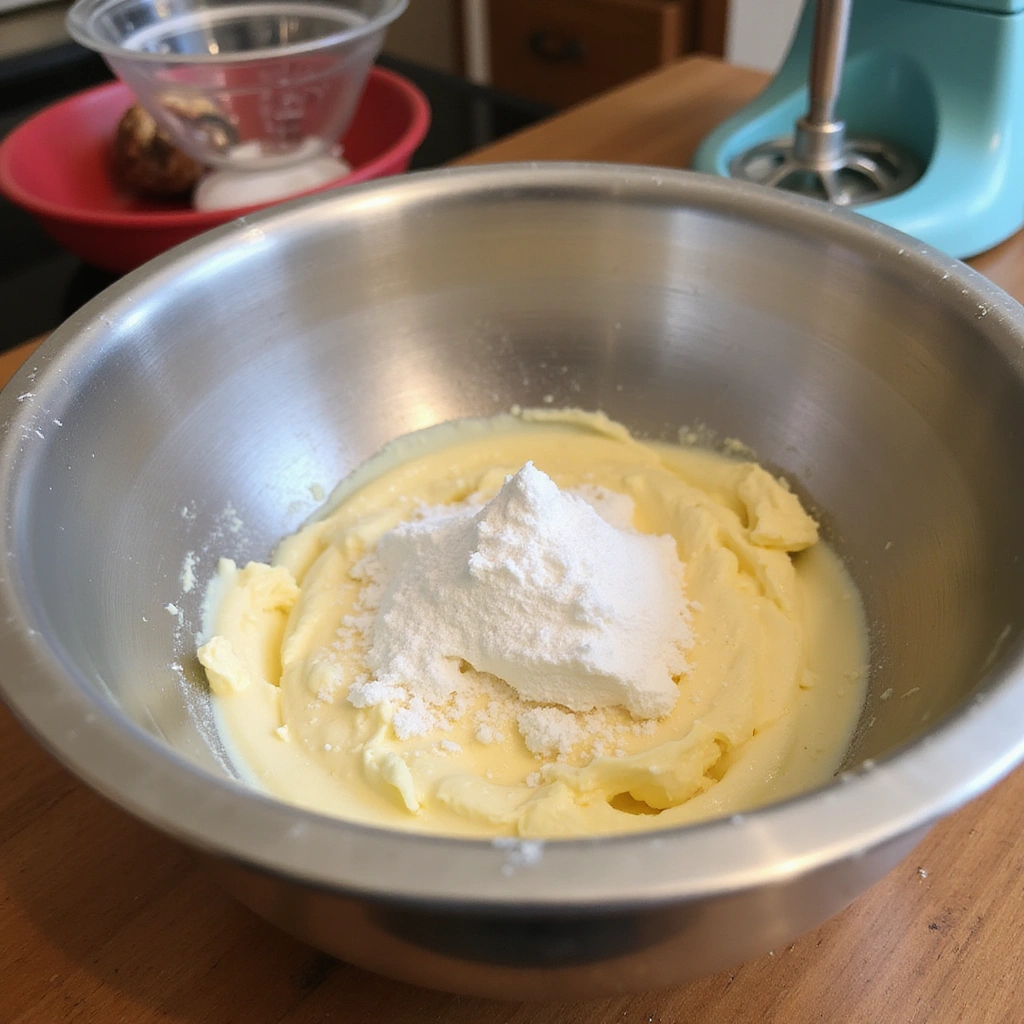
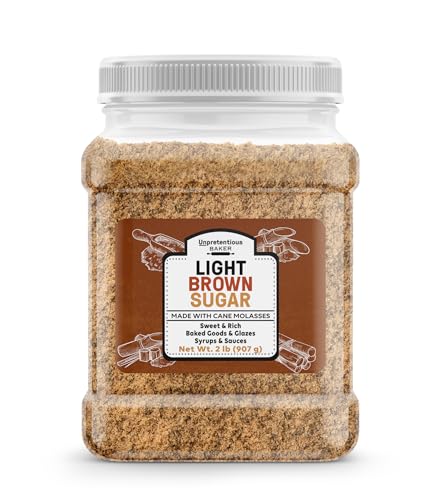
In a large mixing bowl, cream together the softened butter and sugar until light and fluffy.
This process incorporates air, which is crucial for a light sponge.
Use an electric mixer on medium speed for about 3-5 minutes.
Look for a pale color and a fluffy texture as indicators that it’s ready.
Step 4: Add Eggs
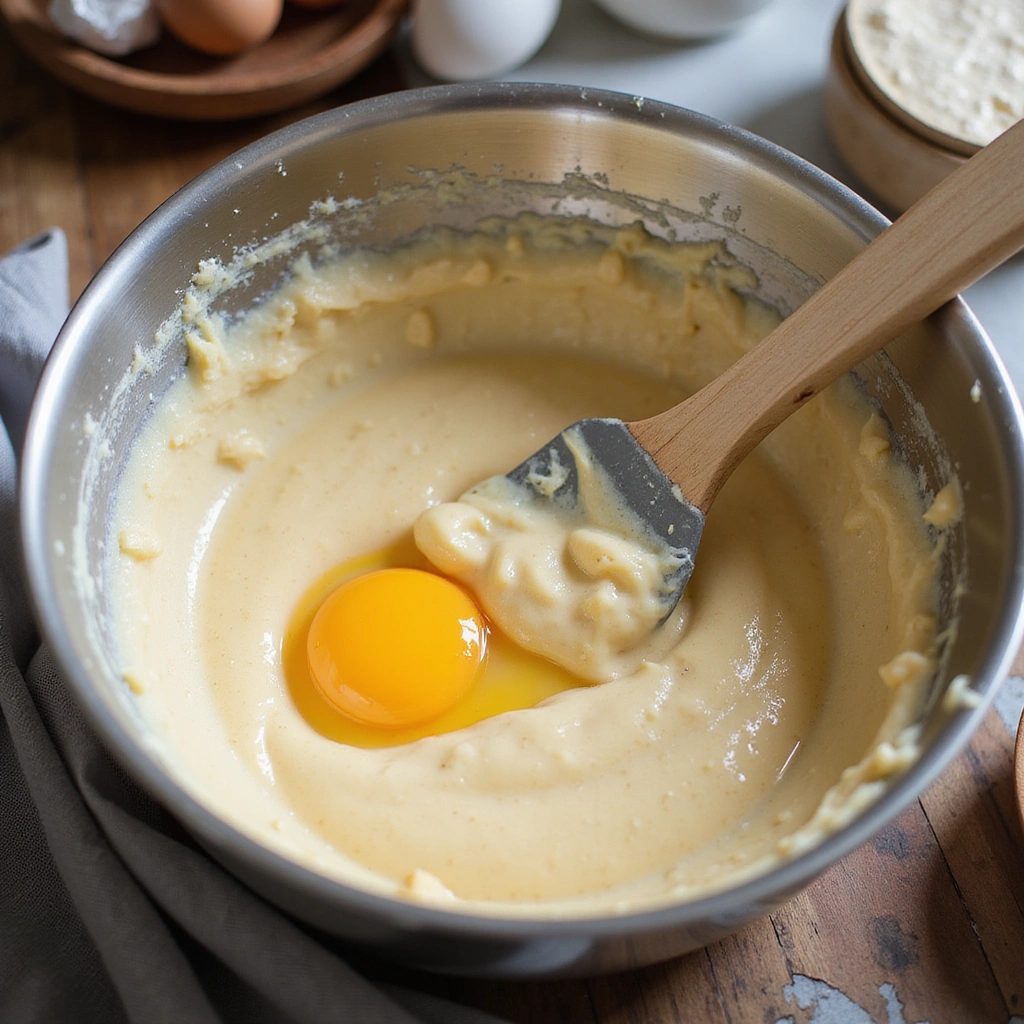
Add the eggs one at a time, mixing well after each addition.
This ensures even incorporation and prevents the batter from curdling.
Scrape down the sides of the bowl as needed to mix thoroughly.
The mixture should appear smooth and creamy by the end.
Step 5: Sift in Dry Ingredients
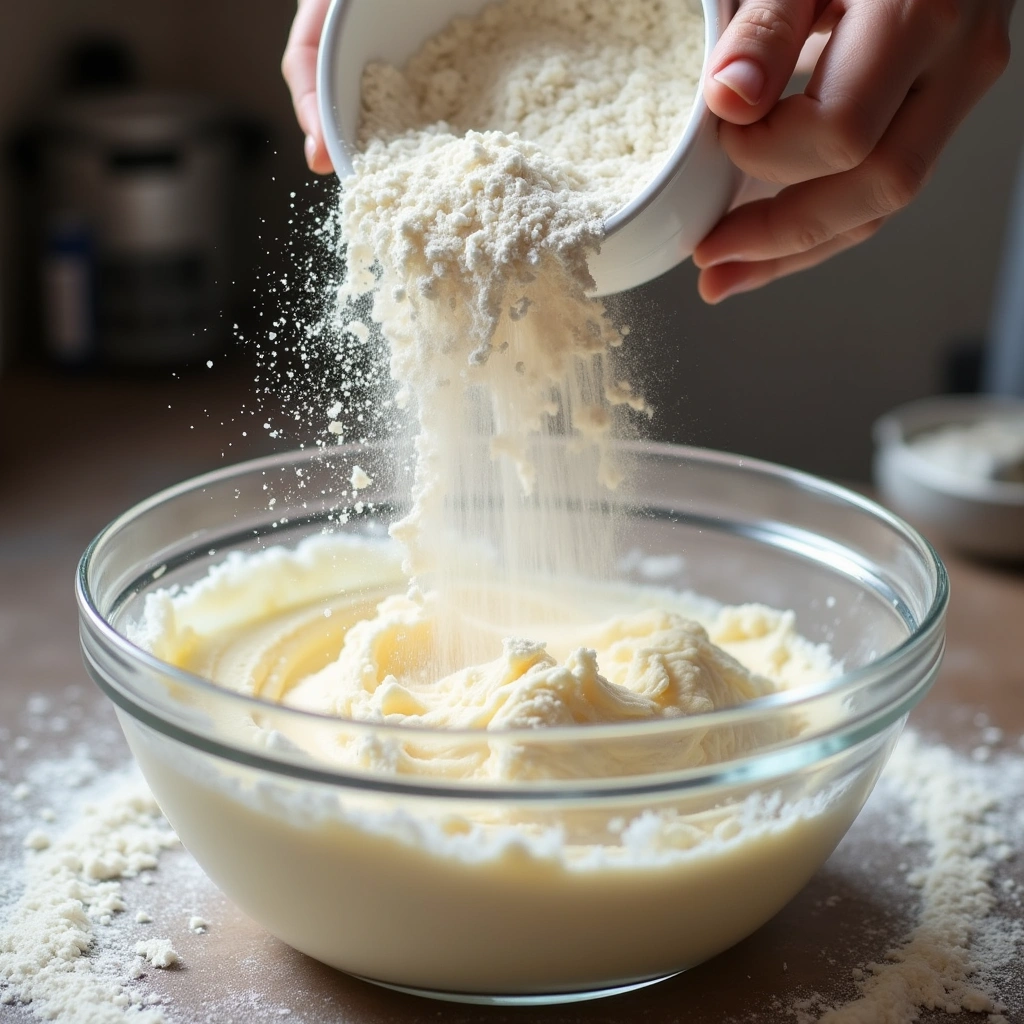
Sift the flour and baking powder into the butter mixture.
Gently fold the dry ingredients into the wet mixture using a spatula or wooden spoon.
Be careful not to overmix, as this can lead to a dense cake.
The batter should be just combined, with no visible dry flour remaining.
Step 6: Pour Batter into Pans
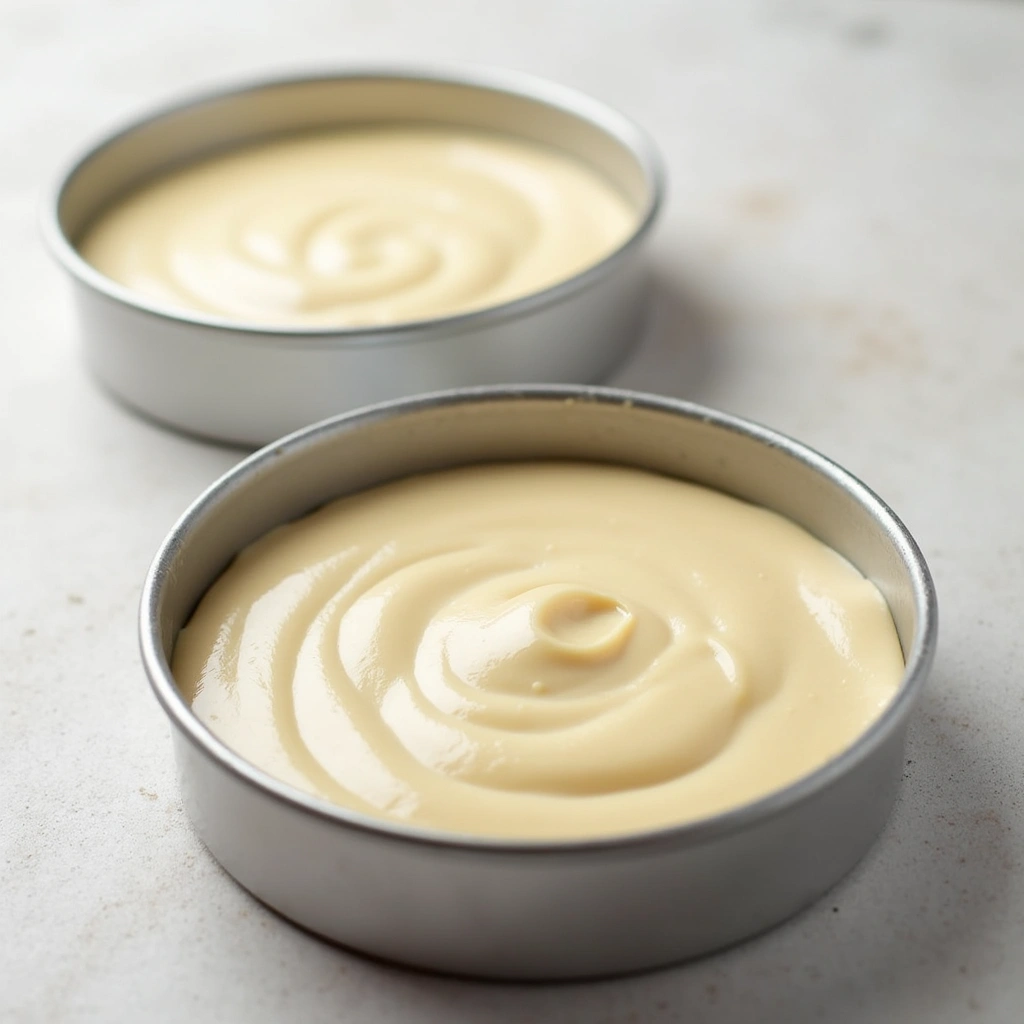
Divide the batter evenly between the prepared cake pans.
Use a spatula to smooth the tops for even baking.
Tap the pans gently on the counter to release any air bubbles.
This helps to ensure an even rise during baking.
Step 7: Bake the Cakes
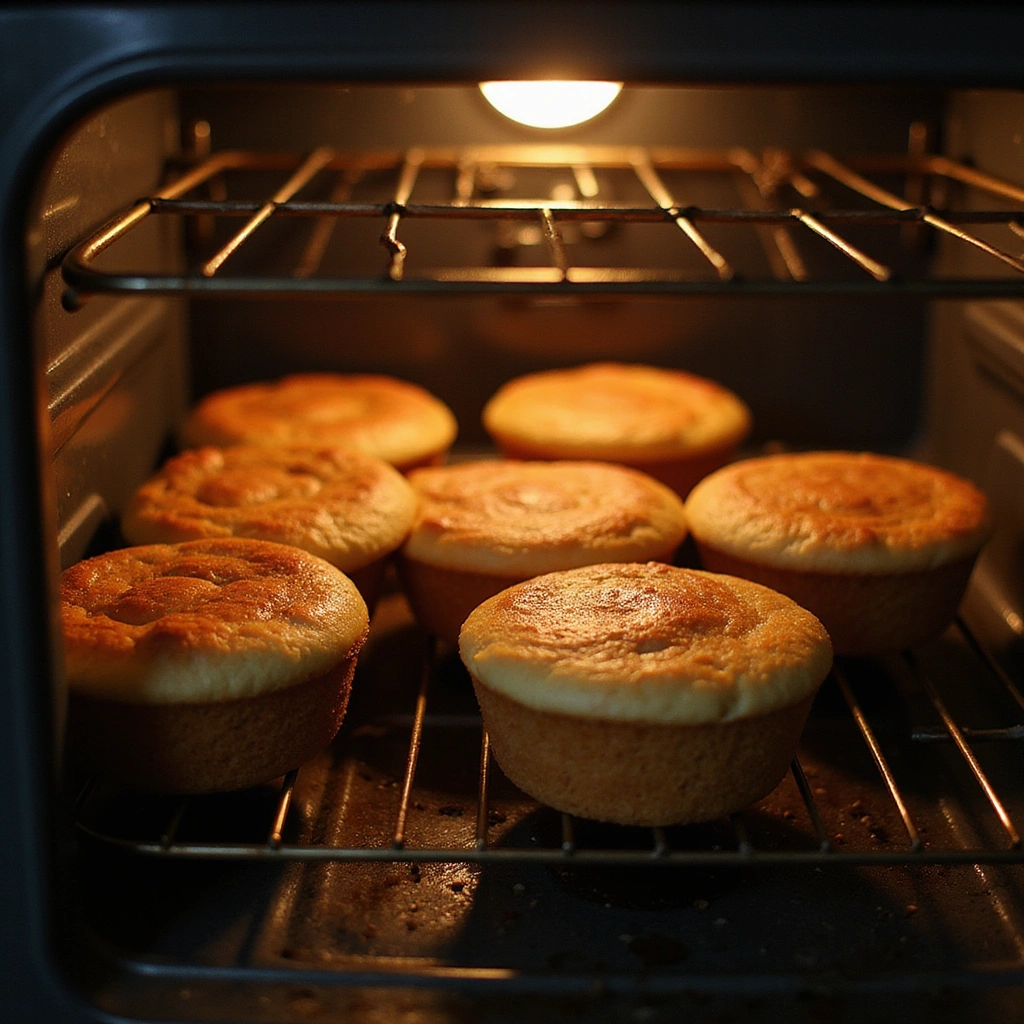
Place the pans in the preheated oven and bake for 25-30 minutes.
The cakes are done when they are golden brown and a toothpick inserted in the center comes out clean.
Avoid opening the oven door too early, as this can cause the cakes to sink.
Watch for a slight spring back when lightly pressed.
Step 8: Cool the Cakes
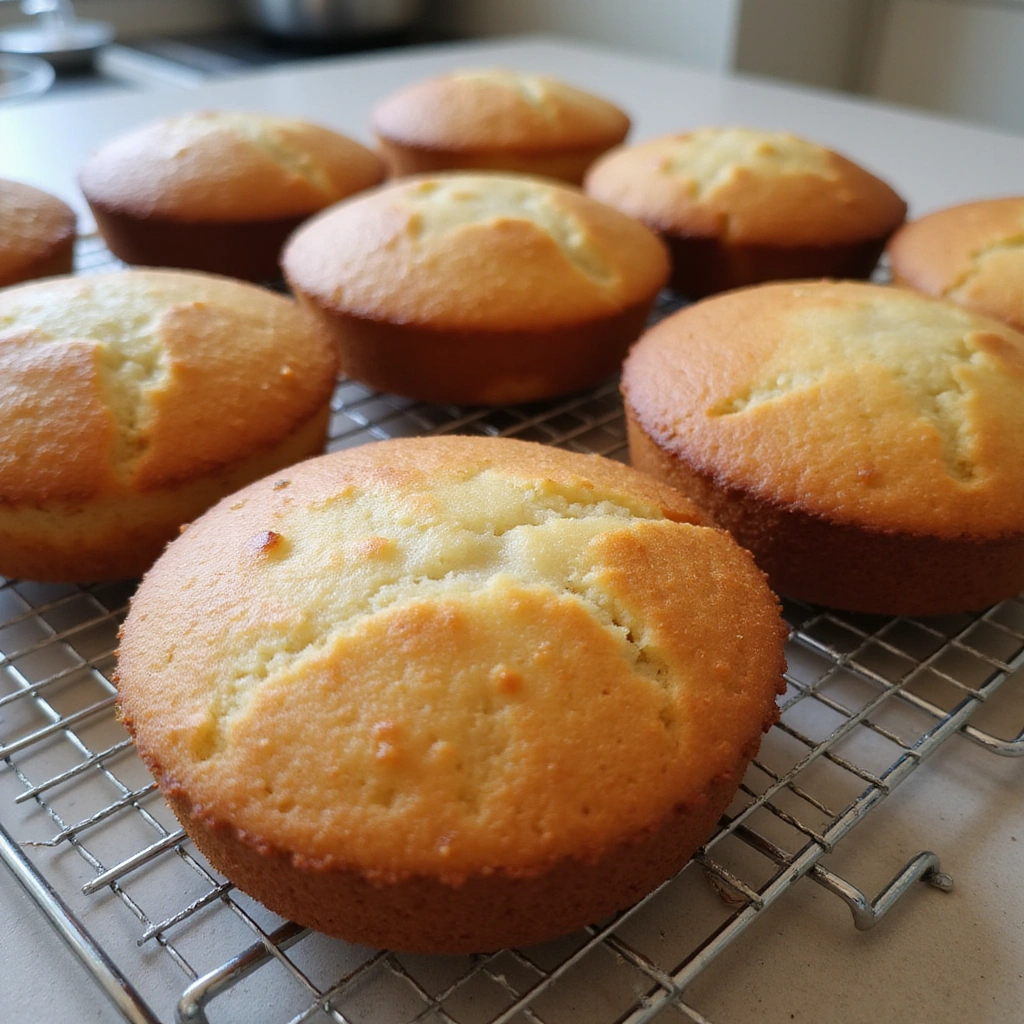
Once baked, remove the cakes from the oven and let them cool in the pans for 10 minutes.
Then, carefully turn them out onto a wire rack to cool completely.
This step is crucial for preventing sogginess at the bottom.
Ensure they’re completely cooled before frosting.
Step 9: Whip the Cream
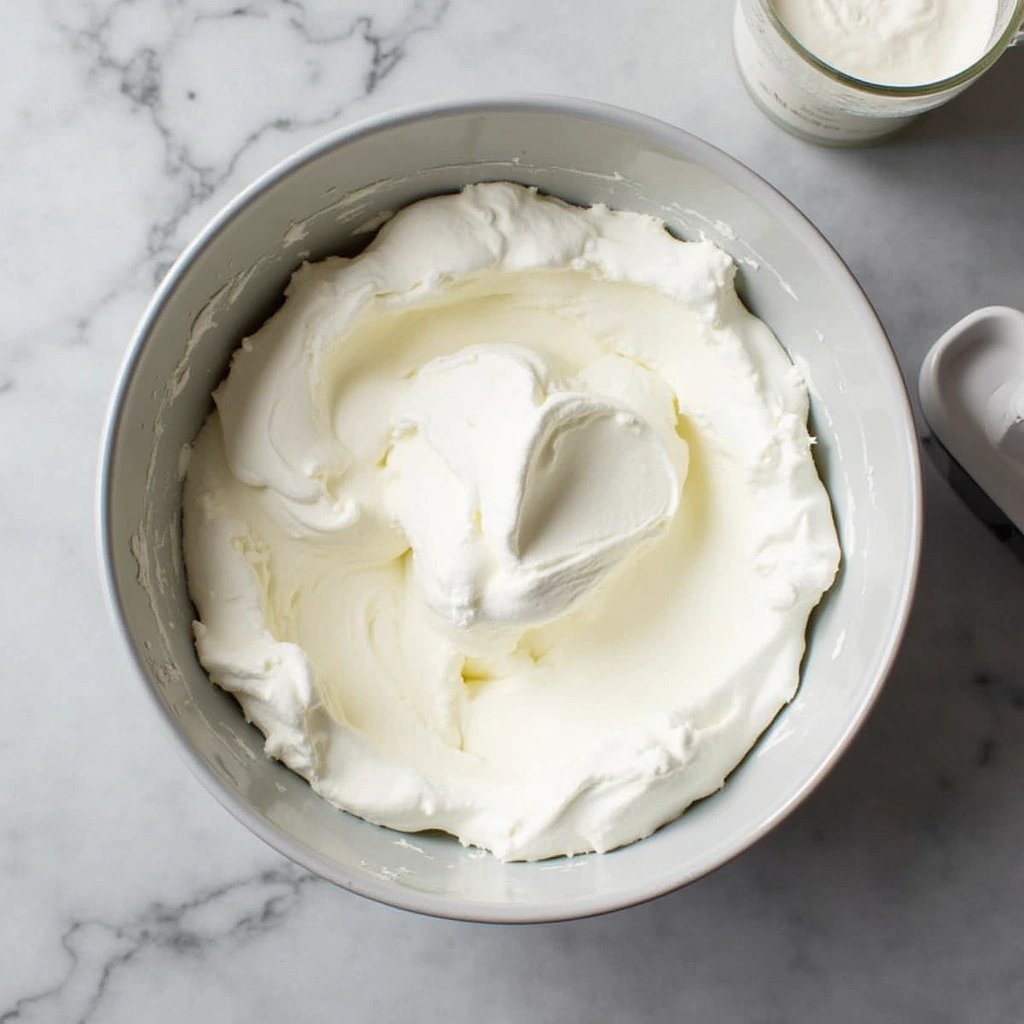
In a clean mixing bowl, whip the heavy cream until soft peaks form.
Be careful not to over-whip, which can lead to separation.
The cream should be light and fluffy, perfect for spreading.
Use a chilled bowl and beaters for optimal results.
Step 10: Assemble the Cake
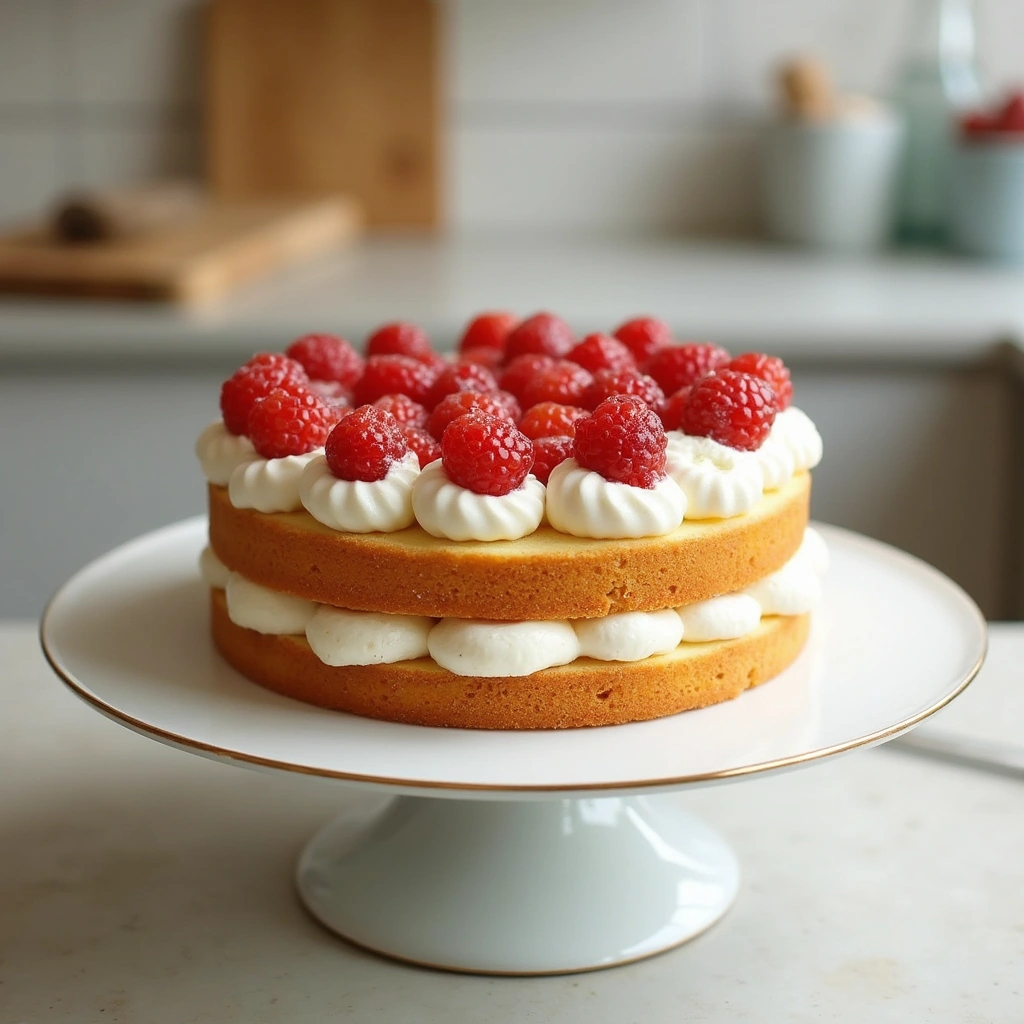
Place one layer of the cake on a serving plate and spread a generous layer of strawberry jam on top.
Follow with a layer of whipped cream, smoothing it out evenly.
Carefully place the second layer on top, pressing gently.
This creates a beautiful layered effect.
Step 11: Garnish the Cake
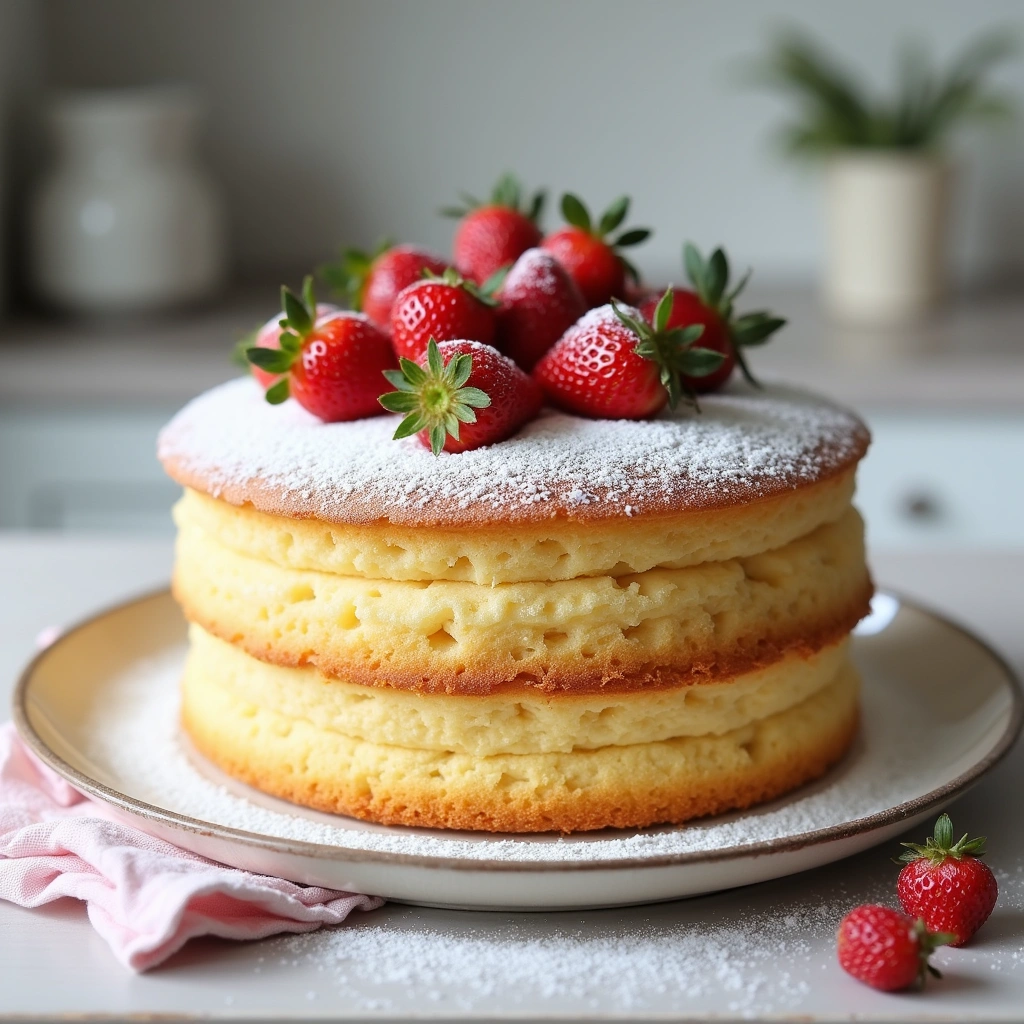
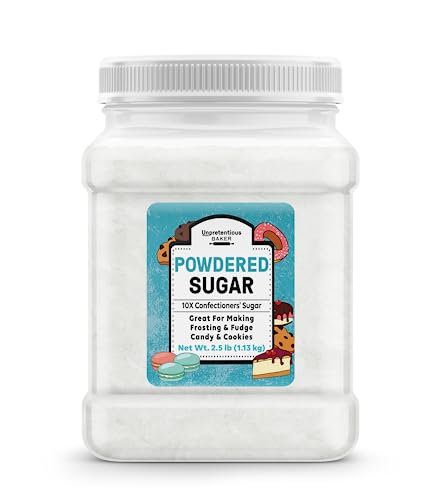
Dust the top of the cake with powdered sugar for a sweet finish.
Add sliced fresh strawberries for a pop of color and flavor.
This not only enhances presentation but also adds freshness.
Ensure the garnishes are evenly distributed for visual appeal.
Step 12: Serve and Enjoy
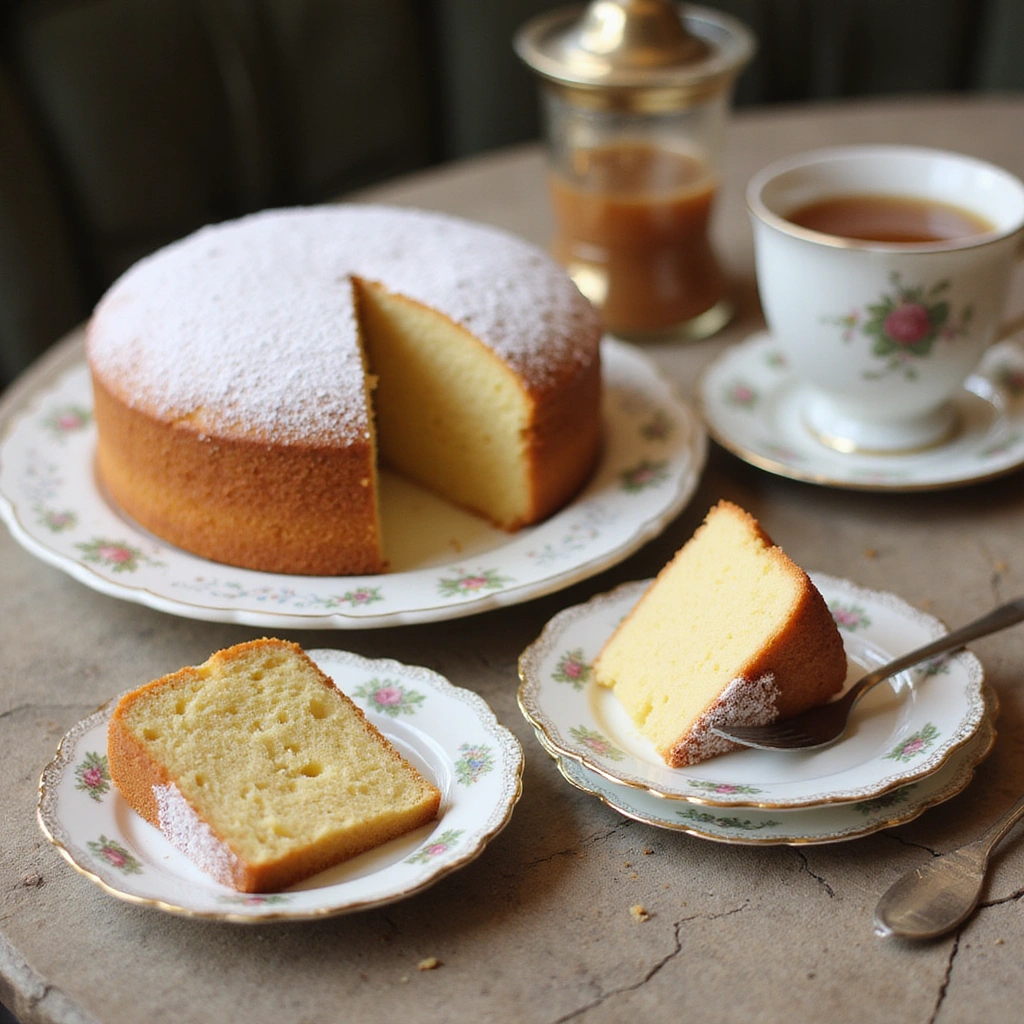
Slice the cake into wedges and serve with a cup of tea or coffee.
This classic pairing enhances the cake’s flavors and provides a comforting experience.
Enjoy the balance of sweetness and creaminess with each bite.
Share with friends and family for a delightful treat.
Critical Timing and Temperature Guide
Baking Time: Bake for 25-30 minutes until golden brown. Look for a toothpick to come out clean and a slight spring back when pressed. Avoid opening the oven door too early to prevent sinking.
Cooling Time: Allow cakes to cool in the pans for 10 minutes, then transfer to a wire rack. This prevents sogginess at the bottom and ensures even cooling.
Whipping Cream: Whip until soft peaks form, taking care not to over-whip. The cream should be light and fluffy, achieving the perfect texture for spreading.
Pro Tips for The Great British Baking Show Recipes You Can Recreate
• Ingredient Selection: Use high-quality butter and fresh eggs for the best flavor and texture.
• Preparation Secret: Chill your mixing bowl and beaters before whipping cream for optimal volume.
• Temperature Management: Ensure your eggs are at room temperature to help them incorporate better into the batter.
• Texture Enhancement: Fold the flour gently to maintain the airiness of the batter, which results in a light sponge.
• Flavor Layering: Consider adding a splash of vanilla extract to the cake batter for extra depth of flavor.
• Make-Ahead Strategies: Bake the cakes a day in advance and store them wrapped in plastic wrap to keep them fresh.
• Restaurant-Quality Finishing Touches: Garnish with edible flowers or mint leaves for an elegant presentation.
• Equipment Optimization: Use a silicone spatula for folding to avoid deflating the batter.
Troubleshooting Common Issues
• Cake Sinks in the Middle: This often occurs from opening the oven too early or underbaking. Ensure your oven is preheated and avoid checking until near the end of the baking time.
• Dense Texture: Overmixing the batter can lead to a dense cake. Mix until just combined to maintain lightness.
• Sticking to the Pan: Not greasing the pans properly can cause sticking. Be generous with butter or use non-stick spray and parchment.
• Flavor is Too Sweet: This can happen if too much sugar is used. Consider balancing it with a hint of lemon zest for brightness.
• Dry Cake: Baking too long can dry out the sponge. Keep a close eye on the time and check for doneness early if unsure.
Variations and Regional Differences
• Chocolate Victoria Sponge: This version incorporates cocoa powder into the flour for a chocolatey twist on the classic sponge.
• Lemon Victoria Sponge: Adding lemon zest and juice to the batter gives this cake a refreshing citrus flavor, perfect for summer.
• Berry Victoria Sponge: Substitute the strawberry jam with mixed berry compote for a more colorful and flavorful filling.
• Modern Interpretations: Some bakers now incorporate gluten-free flour or alternative sweeteners to cater to dietary needs while maintaining the essence of the original recipe.
Food Science Behind the Recipe
• Emulsification: The process of mixing butter and sugar incorporates air, which helps create a light texture in the sponge.
• Aeration: Whipping cream introduces air into the mixture, transforming it into a light and fluffy filling.
• Gluten Development: Sifting flour helps prevent excessive gluten formation, which is crucial for maintaining a tender crumb in the cake.
Frequently Asked Questions
What’s the most common mistake people make when preparing Victoria Sponge Cake? A common mistake is overmixing the batter, leading to a dense texture. Mix just until combined to preserve the lightness.
Can I prepare components of this dish in advance? Yes, you can bake the cakes a day ahead and store them wrapped in plastic. Whip the cream just before assembling for the best texture.
How do I adapt this recipe for dietary restrictions? You can use gluten-free flour for a gluten-free version or substitute sugar with a sweetener of your choice.
What’s the best way to store and reheat leftovers? Store leftovers in an airtight container in the fridge for up to 3 days. Reheat gently in the microwave if desired.
Can I freeze this dish? Yes, you can freeze the cakes without frosting. Wrap them tightly in plastic wrap and foil for up to 3 months.
What wine or beverages pair best with this dish? A light tea or champagne pairs wonderfully, enhancing the delicate flavors of the cake.
How can I scale this recipe up for a crowd? To double the recipe, simply multiply the ingredients by two and use three 8-inch pans for even baking.
What side dishes complement this recipe best? A simple fresh fruit salad or a scoop of vanilla ice cream pairs beautifully with the cake.
How do professional chefs elevate this dish for restaurant service? They might add a layer of flavored syrup or infuse the cream with herbs for a unique twist.
Serving and Presentation Guide
• Traditional Presentation: Serve the cake on a vintage cake stand, lightly dusted with powdered sugar and garnished with fresh fruit.
• Modern Plating Ideas: Create a deconstructed version by serving cake slices alongside dollops of cream and fruit on the side for a chic look.
• Accompaniment Suggestions: Traditional British tea or a light sparkling wine complements the flavors of the cake.
• Special Occasion Presentation: For celebrations, consider adding edible flowers and a drizzle of berry coulis for an elegant touch.
Conclusion
Recreating the Victoria Sponge Cake is a delightful way to connect with British baking traditions.
Its light, fluffy texture and sweet filling make it a perfect treat for any occasion.
I encourage you to give this recipe a try and share it with your loved ones for a taste of classic British charm.

