
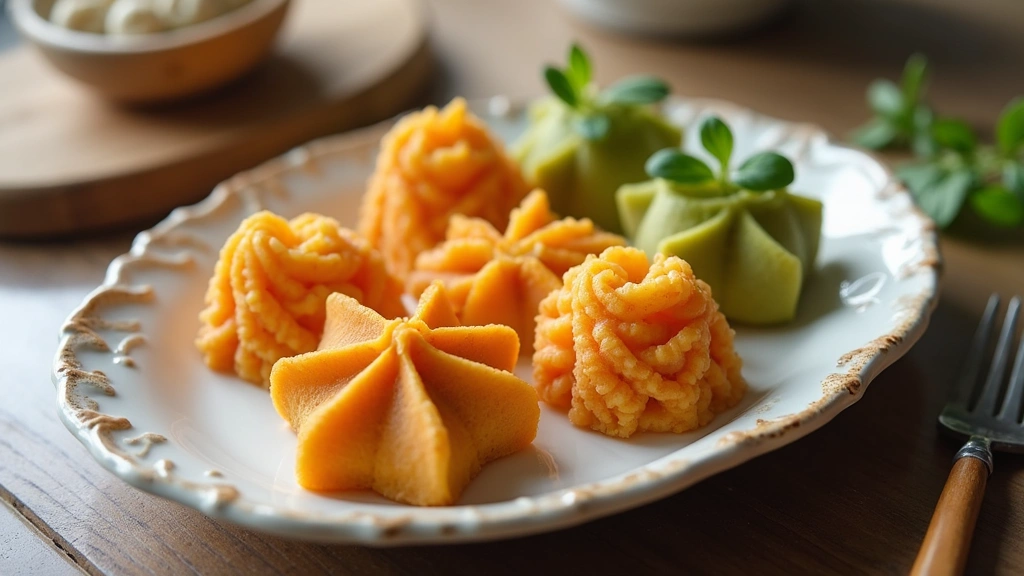
Silicone baking molds offer a delightful twist on traditional baking, transforming ordinary recipes into captivating creations.
These fun shapes can elevate any dessert, making them perfect for parties or family gatherings.
The versatility of silicone molds allows you to experiment with a variety of textures and flavors, from cakes to chocolates.
With this guide, you’ll discover recipes that are not just tasty but also visually stunning, guaranteed to impress your loved ones.
The History and Cultural Significance
• Silicone baking molds were first introduced in the late 20th century, revolutionizing the baking world with their flexibility and non-stick properties.
• Over the years, they have evolved from simple designs to intricate patterns, allowing for creative expression in baking.
• In many cultures, creative baking molds are used during festivities, symbolizing celebration and joy through visually appealing treats.
• While traditional baking methods still hold value, silicone molds represent modernity and adaptability in culinary arts.
Recipe Overview
Nutritional Information (per serving)
Ingredients
Essential Equipment Guide
Silicone Baking Molds: Essential for creating fun shapes, these molds are flexible and non-stick, which makes for easy release of baked goods. Look for molds that are made from high-quality food-grade silicone that can withstand high temperatures.
Mixing Bowls: A set of mixing bowls is crucial for combining ingredients. Opt for stainless steel or glass bowls for durability and ease of cleaning.
Spatula: A good spatula is vital for mixing and scraping down the sides of your bowl. Silicone spatulas are great as they are heat resistant and won’t scratch your mixing bowls.
Preparation Methods
Greasing the Molds: Before pouring the batter, it’s crucial to lightly grease your silicone molds with cooking spray or oil. This ensures easy release and prevents sticking.
Mixing Techniques: Use the folding method when combining the wet and dry ingredients to avoid overmixing. This keeps the texture light and airy, perfect for fluffy baked goods.
Baking Temperature: Preheat your oven to the specified temperature to ensure even baking. An oven thermometer can help verify accuracy if your oven tends to run hot or cold.
Step 1: Prepare Ingredients

Gather all the ingredients in one place for efficiency.
Measure out the dry ingredients into one bowl and the wet ingredients into another.
Make sure to sift the flour to eliminate lumps and aerate it for a lighter texture.
This preparation step streamlines the mixing process later on.
Step 2: Mix Dry Ingredients

In a large mixing bowl, combine the flour, sugar, baking powder, and salt.
Whisk these ingredients together until they are evenly distributed.
This step is essential to ensure that the baking powder activates uniformly when mixed with wet ingredients.
Be thorough but gentle to maintain the flour’s fluffiness.
Step 3: Combine Wet Ingredients

In a separate bowl, whisk together the milk, melted butter, eggs, and extracts.
Mix until the ingredients are well combined and slightly frothy.
This aeration helps the batter rise during baking, giving it a light texture.
Ensure the butter is not too hot to avoid cooking the eggs prematurely.
Step 4: Mix Wet and Dry Ingredients

Pour the wet mixture into the bowl of dry ingredients.
Using a spatula, fold the mixtures together gently until just combined.
Be careful not to overmix, as this can lead to dense baked goods.
The batter should remain slightly lumpy for the best texture.
Step 5: Preheat Oven

While mixing the batter, preheat your oven to 350°F (175°C).
This allows the oven to reach the proper temperature for baking, ensuring your treats rise correctly.
Use an oven thermometer to check accuracy, especially if your oven has hot spots.
Preheating is crucial for even cooking and texture.
Step 6: Fill the Molds

Carefully spoon the batter into the prepared silicone molds, filling them about two-thirds full.
Using a small ice cream scoop can help achieve even portions.
Leave space for the batter to rise without overflowing.
Smooth the tops with a spatula for a neat finish.
Step 7: Bake the Treats

Place the filled silicone molds in the preheated oven.
Bake for 20-25 minutes, or until a toothpick inserted in the center comes out clean.
The tops should be lightly golden brown and spring back when touched.
Avoid opening the oven door too early to maintain consistent heat.
Step 8: Cool and Remove from Molds

Once baked, remove the molds from the oven and let them cool for about 10 minutes.
Gently push on the bottom of each mold to release the treats.
If they resist, let them cool for a few more minutes before attempting to remove them.
Cooling helps them maintain their shape and prevents breaking.
Step 9: Decorate and Serve

Once fully cooled, decorate your treats with icing, sprinkles, or fruit.
Use vibrant colors to enhance the appeal, especially for special occasions.
Presentation can make a big difference, so take your time with this step.
Serve them on a decorative platter for a stunning display.
Critical Timing and Temperature Guide
Baking Time: Bake the treats for 20-25 minutes at 350°F (175°C). Look for a golden top and a toothpick inserted into the center should come out clean. Avoid overbaking to prevent dryness.
Cooling Time: Allow the baked goods to cool in the molds for at least 10 minutes. This step is essential for maintaining their shape. If they are too hot, they may break upon removal.
Serving Temperature: These treats are best served at room temperature. If stored, allow them to come back to room temperature before serving for optimal flavor.
Pro Tips for Silicone Baking Molds Recipes For Fun Shapes
• Ingredient Selection: Use high-quality flour and fresh baking powder for the best rise and texture.
• Preparation Secret: Cooling the melted butter slightly before adding to eggs prevents cooking them.
• Temperature Management: Ensure all ingredients are at room temperature for even mixing and baking.
• Texture Enhancement: For a finer crumb, consider using cake flour instead of all-purpose flour.
• Flavor Layering: Enhance flavors by adding citrus zest to the batter.
• Make-Ahead Strategies: Prepare the batter ahead of time and store it in the fridge for up to 24 hours before baking.
• Restaurant-Quality Finishing Touches: A light dusting of powdered sugar or a drizzle of glaze can elevate your presentation.
• Equipment Optimization: Invest in flexible silicone molds that can withstand high temperatures and are easy to clean.
Troubleshooting Common Issues
• Batter Sinks in the Middle: This may be due to underbaking. Ensure that the treats are fully set before removing from the oven. Check with a toothpick for doneness.
• Shapes Sticking to Molds: If your treats are sticking, it may be due to insufficient greasing. Always grease the molds lightly before pouring in the batter.
• Texture Too Dense: Overmixing the batter can cause a dense texture. Mix until just combined and avoid overhandling.
• Unevenly Baked Treats: Ensure the oven is preheated and consider rotating the molds halfway through baking for even heat distribution.
• Flavor is Lacking: If the flavor seems flat, try adding a pinch of salt or an extra splash of vanilla extract to enhance overall taste.
Variations and Regional Differences
• Chocolate Variation: Substitute half of the flour with cocoa powder for a rich chocolate flavor.
• Fruit-Infused Version: Add fresh berries or chopped fruits to the batter for a refreshing twist.
• Spiced Variation: Incorporate spices like cinnamon or nutmeg for added warmth and complexity.
• Modern Interpretations: Experiment with gluten-free flour blends to cater to dietary restrictions while maintaining the fun shapes.
Food Science Behind the Recipe
• Leavening Agent Reaction: Baking powder releases carbon dioxide when combined with wet ingredients, causing the batter to rise and create a light texture.
• Moisture Retention: Ingredients like butter and eggs contribute to moisture, affecting the final product’s softness and flavor.
• Maillard Reaction: This chemical reaction occurs when baking, giving your treats a beautiful golden color and enhancing flavor complexity.
Frequently Asked Questions
What’s the most common mistake people make when preparing silicone baking molds recipes? Not greasing the molds properly can lead to sticking. Always grease your molds to ensure easy release.
Can I prepare components of this dish in advance? Yes, you can prepare the batter a day ahead and refrigerate it. Just stir lightly before using.
How do I adapt this recipe for dietary restrictions? Gluten-free flour can be used as a substitute for all-purpose flour, and almond milk can replace regular milk.
What’s the best way to store and reheat leftovers? Store in an airtight container at room temperature for up to 3 days. Reheat in the oven at low heat to maintain texture.
Can I freeze this dish? Yes, freeze the treats in a single layer on a baking sheet, then transfer to a freezer bag. Thaw at room temperature before serving.
What wine or beverages pair best with this dish? Light sparkling wines or fruit juices complement the sweetness of the treats well.
How can I scale this recipe up for a crowd? Simply double or triple the ingredient amounts, ensuring you have enough baking molds or baking in batches.
What side dishes complement this recipe best? Serve with fresh fruit or whipped cream for a delightful contrast.
How do professional chefs elevate this dish for restaurant service? They often use high-quality, artisan ingredients and garnish with fresh herbs or edible flowers.
Serving and Presentation Guide
• Traditional Presentation: Arrange the treats on a large serving platter with a dusting of powdered sugar or drizzled icing.
• Modern Plating Ideas: Serve each treat on individual plates with a scoop of ice cream or a dollop of whipped cream.
• Accompaniment Suggestions: Pair with fresh berries or a fruit compote for added freshness and color.
• Special Occasion Presentation: Use decorative cake stands and add vibrant garnishes like mint leaves or edible flowers for an elegant touch.
Conclusion
Trying out these silicone baking molds recipes for fun shapes is sure to bring joy to your kitchen.
The creativity and flavors will delight both the baker and those who get to enjoy the treats.
I hope you find joy in experimenting with these recipes and making them your own.


