
Baking with Blondie recipes brings a delightful twist to classic desserts that will inspire your inner baker.
The combination of rich flavors and comforting textures creates an unforgettable experience in every bite.
I first discovered these recipes during a cozy afternoon spent in a friend’s kitchen, where we indulged in sweet treats that sparked joy and creativity.
Whether you’re a seasoned baker or just starting out, these recipes are designed to be approachable yet impressive, making them perfect for any occasion.
The History and Cultural Significance
• Baking with Blondie recipes traces its origins to modern American home baking, where creativity and fun collide in the kitchen.
• Over the years, these recipes have evolved as bakers experimented with new flavors and techniques, leading to the innovative desserts we enjoy today.
• In American culture, these recipes often appear at gatherings, celebrations, and bake sales, symbolizing community and creativity.
• While many variations exist across different home kitchens, the authentic versions maintain a focus on simple ingredients and joyful baking experiences.
Recipe Overview
Nutritional Information (per serving)
Ingredients
Essential Equipment Guide
Mixing Bowl: A sturdy mixing bowl is essential for combining ingredients efficiently. Look for a bowl that is large enough to prevent spills and is made of durable material like glass or stainless steel.
Silicone Spatula: This tool is perfect for scraping down the sides of your bowl and ensuring every bit of batter is mixed well. Choose a spatula with a sturdy handle and heat-resistant silicone for versatility.
Measuring Cups and Spoons: Accurate measurements are crucial in baking. Invest in a set of dry and liquid measuring cups, as well as measuring spoons, to ensure precise ingredient ratios.
Preparation Methods
Creaming: This technique involves beating together butter and sugar until light and fluffy. It’s crucial for incorporating air into the batter, which helps achieve a light texture. Use a hand mixer or stand mixer for best results.
Folding: Gently incorporating ingredients like flour into wet mixtures without deflating the batter. This technique helps retain the airiness created during the creaming stage. Use a spatula and make sure to go from the bottom to the top of the mixture.
Baking: The final cooking process where the batter transforms into a delicious dessert. Preheat your oven to the specified temperature and place the baking dish in the center for even cooking.
Step 1: Prepare Ingredients

Gather all your ingredients and ensure they are measured accurately.
Pre-sift the flour and measure out the sugar and butter.
Having everything ready will streamline the baking process.
Make sure your butter is softened to room temperature for easy mixing.
Step 2: Cream the Butter and Sugars

In a large mixing bowl, combine the softened butter, brown sugar, and granulated sugar.
Use a hand mixer to beat the mixture until it becomes light and fluffy.
This process incorporates air, which will help your dessert rise and become soft.
Scrape down the sides of the bowl occasionally to ensure even mixing.
Step 3: Add Eggs and Vanilla

Crack the eggs into the creamed mixture one at a time, mixing well after each addition.
Then, add the vanilla extract and continue mixing until fully combined.
This step adds moisture and flavor to your batter.
Make sure there are no streaks of egg visible in the mixture.
Step 4: Combine Dry Ingredients

In a separate bowl, whisk together the sifted flour, baking soda, and salt.
This ensures that the leavening agent is evenly distributed throughout the flour.
Gradually add this dry mixture to the wet ingredients in the mixing bowl.
Mix on low speed just until combined to avoid overworking the batter.
Step 5: Fold in Chocolate Chips and Nuts

Using a silicone spatula, gently fold in the chocolate chips and nuts until evenly dispersed.
Be careful not to overmix, as this can lead to a dense texture.
The folding technique helps maintain the airiness of the batter.
Ensure that the chocolate and nuts are well coated in the batter.
Step 6: Preheat the Oven

While preparing the batter, preheat your oven to 350°F (175°C).
This ensures that the baking environment is optimal for your dessert.
Use an oven thermometer to check accuracy, as temperature can greatly affect baking results.
Let the oven heat for at least 10 minutes before placing the dish inside.
Step 7: Pour Batter into Baking Dish

Grease a 9×13 inch baking dish with butter or cooking spray.
Pour the batter into the prepared dish, spreading it evenly with a spatula.
This helps ensure even baking throughout the dessert.
Tap the dish gently on the counter to remove any air bubbles.
Step 8: Bake the Dessert

Place the baking dish in the preheated oven and bake for 30 minutes.
Check for doneness by inserting a toothpick into the center; it should come out clean or with a few moist crumbs.
Avoid opening the oven door too early, as this can cause the dessert to collapse.
Once baked, allow it to cool in the dish for about 10 minutes.
Step 9: Cool and Serve

Once cooled, cut the dessert into squares and serve warm or at room temperature.
You can add a scoop of ice cream or a drizzle of chocolate sauce for an extra indulgence.
Presentation matters; consider arranging the squares on a serving platter.
Enjoy the fruits of your labor with family and friends.
Critical Timing and Temperature Guide
Mixing Time: Creaming should take about 3-5 minutes until light and fluffy. Over-creaming can lead to excess air and a dry product.
Baking Time: Bake for 30 minutes, or until a toothpick inserted comes out clean. Keep an eye on the edges, which will brown slightly before the center is fully baked.
Cooling Time: Allow at least 10 minutes to cool in the dish. Cutting too early may cause the dessert to crumble.
Pro Tips for Baking With Blondie Recipes That Inspire
• Ingredient Selection: Use high-quality chocolate chips for a richer flavor; they can make a significant difference in your final dessert.
• Preparation Secret: Always soften your butter properly; this can be done by leaving it at room temperature or using a microwave in short bursts.
• Temperature Management: Ensure your eggs are at room temperature to mix easily with the butter, creating a smoother batter.
• Texture Enhancement: For a chewier texture, consider chilling the dough before baking for about 30 minutes.
• Flavor Layering: Add a pinch of espresso powder to enhance the chocolate flavor without making it taste like coffee.
• Make-Ahead Strategies: You can prepare the batter a day in advance and store it in the refrigerator until ready to bake.
• Restaurant-Quality Finishing Touches: Dust the finished dessert with powdered sugar or cocoa powder for an elegant look.
• Equipment Optimization: Use a non-stick baking pan to prevent sticking and ensure even browning.
Troubleshooting Common Issues
• Texture Too Dense: This can happen if you overmix the batter. To prevent this, mix just until the ingredients are combined and no streaks remain.
• Uneven Baking: If your dessert bakes unevenly, ensure that your oven is calibrated correctly. Rotate the dish halfway through baking for even results.
• Too Sweet: If the dessert is overly sweet, try reducing the sugar slightly in future batches.
• Dry Texture: Overbaking can lead to dryness; always check for doneness a few minutes before the suggested time.
• Sticking to the Pan: Make sure to grease your baking dish thoroughly or use parchment paper for easy removal.
Variations and Regional Differences
• Blondie Brownies: These add nuts and chocolate chunks to the classic blondie recipe, offering a delightful mix of textures and flavors.
• Seasonal Variations: Incorporate pumpkin puree and spices in the fall for a seasonal twist on the classic recipe.
• Nut-Free Version: Replace nuts with seeds like sunflower or pumpkin seeds for a delightful crunch without allergens.
• Modern Interpretations: Consider gluten-free flour alternatives for a trendy, health-conscious option without sacrificing taste.
Food Science Behind the Recipe
• Creaming: This technique introduces air into the butter and sugar mixture, essential for leavening and creating a light texture in baked goods.
• Gluten Development: The mixing process activates gluten in the flour, which contributes to the structure of your dessert; over mixing can lead to tough results.
• Maillard Reaction: This chemical reaction occurs during baking and contributes to the browning and flavor development of your dessert.
Frequently Asked Questions
What’s the most common mistake people make when preparing Baking with Blondie? Overmixing the batter is a common mistake that leads to a dense final product; mix just until combined.
Can I prepare components of this dish in advance? Yes, you can measure out the dry ingredients and store them in an airtight container for up to a week.
How do I adapt this recipe for dietary restrictions? Substitute regular flour with gluten-free flour and use dairy-free butter for a vegan version.
What’s the best way to store and reheat leftovers? Store in an airtight container at room temperature for up to 3 days, or refrigerate for up to a week; reheat in the microwave for 10-15 seconds.
Can I freeze this dish? Yes, freeze the cooled blondies in an airtight container for up to 3 months; thaw overnight in the refrigerator before serving.
What wine or beverages pair best with this dish? A dessert wine like Moscato complements the sweetness of blondies beautifully.
How can I scale this recipe up for a crowd? Double the ingredients and use a larger baking dish, adjusting the baking time as necessary.
What side dishes complement this recipe best? A scoop of vanilla ice cream or a dollop of whipped cream pairs perfectly with blondies.
How do professional chefs elevate this dish for restaurant service? They often add gourmet touches like flavored sauces, edible flowers, or a sprinkle of sea salt on top.
Serving and Presentation Guide
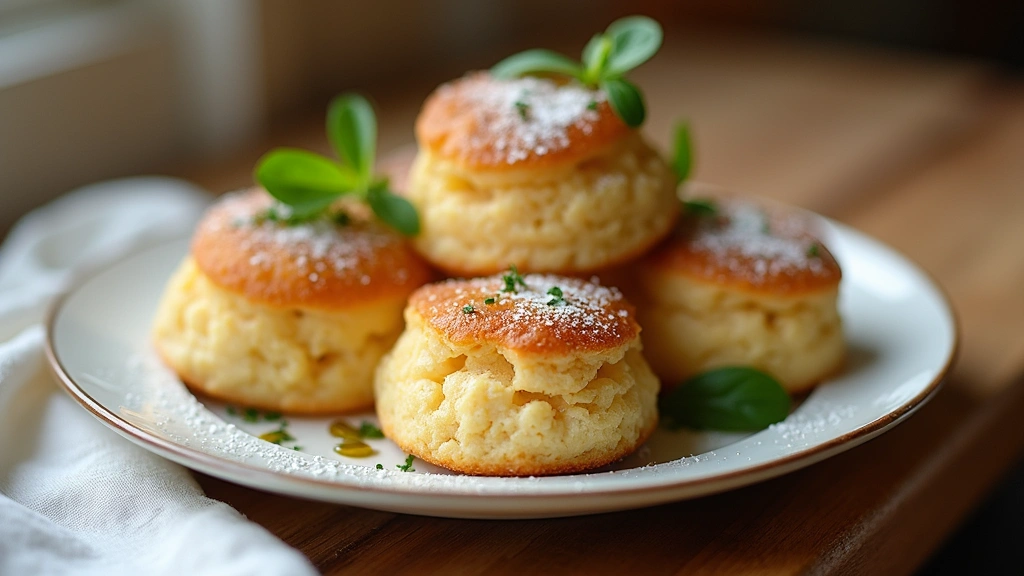
• Traditional Presentation: Serve blondies in neat squares on a decorative platter, perhaps with a dusting of powdered sugar on top.
• Modern Plating Ideas: Arrange the squares artistically on a plate with a scoop of ice cream and a drizzle of chocolate sauce for a contemporary touch.
• Accompaniment Suggestions: Pair with a fresh fruit compote or caramel sauce to enhance the flavors of the blondies.
• Special Occasion Presentation: For celebrations, consider tiered platters, adding colorful garnishes like edible flowers or fresh mint.
Conclusion
Baking with Blondie recipes is a joyful journey that invites creativity into your kitchen.
I encourage you to try these recipes and share them with loved ones for a delightful treat.
May your baking adventures be filled with sweet memories and delicious outcomes.


