Baking powder is a magical ingredient that transforms simple mixtures into fluffy, delightful baked goods.
Its ability to create lift and texture makes it a favorite in recipes ranging from light pancakes to moist cakes.
I first discovered the power of baking powder while experimenting in my grandmother’s kitchen, where every dessert seemed to rise to perfection.
Understanding how to use baking powder correctly can elevate your baking game, ensuring consistent and delicious results every time.
The History and Cultural Significance
• How To Use Baking Powder In Recipes The Right Way traces its origins to the 19th century, when it was first developed as a leavening agent for baked goods.
• The dish evolved over decades as bakers experimented with different formulations, eventually leading to the baking powder we use today.
• In many Western cultures, baked goods made with baking powder are staples at celebrations, symbolizing comfort and home cooking.
• While variations of baking powder recipes exist globally, the authentic versions maintain a light and airy texture that sets them apart.
Recipe Overview
Nutritional Information (per serving)
Ingredients
Essential Equipment Guide
Mixing Bowl: A sturdy mixing bowl is essential for combining ingredients evenly. Look for ones with a non-slip base to prevent any movement during mixing.
Measuring Cups and Spoons: Accurate measurements are crucial for baking success. Consider using dry measuring cups for solids and liquid measuring cups for liquids for best results.
Whisk: A good whisk helps incorporate air into the mixture, crucial for recipes using baking powder. Opt for a stainless steel whisk for durability and ease of cleaning.
Preparation Methods
Sifting: Sifting flour and baking powder together ensures an even mixture, preventing clumps. This technique is especially important for recipes requiring baking powder to rise correctly.
Folding: Gently folding ingredients allows for aeration without deflating the batter. Use a spatula to carefully mix in dry ingredients into wet until just combined.
Resting the Batter: Allowing the batter to rest for a few minutes before cooking can improve the texture. This gives the baking powder time to activate, resulting in a fluffier end product.
Step 1: Gather Ingredients

Begin by collecting all ingredients needed for the recipe.
Ensure you have fresh baking powder, as expired leavening agents can result in dense baked goods.
Check labels on your ingredients for any allergies.
Setting everything out will streamline your preparation process.
Step 2: Preheat the Oven

Preheat your oven to 350°F (175°C) to ensure even baking.
A properly preheated oven allows the baking powder to activate immediately, creating a good rise.
Use an oven thermometer to check the accuracy of your oven’s temperature.
This step is crucial and should never be skipped for best results.
Step 3: Mix Dry Ingredients

In a large mixing bowl, combine the flour, baking powder, salt, and sugar.
Use a whisk to blend these dry ingredients thoroughly, ensuring there are no lumps.
This helps the baking powder distribute evenly throughout the batter.
Mixing dry ingredients properly lays the foundation for a well-risen final product.
Step 4: Prepare Wet Ingredients

In a separate bowl, whisk together the milk, eggs, and melted butter.
Make sure the butter is not too hot, as it can cook the eggs if added directly.
Whisk until the mixture is smooth and combined well.
This will ensure a uniform batter when mixed with the dry ingredients.
Step 5: Combine Ingredients

Pour the wet ingredient mixture into the dry ingredients bowl.
Gently fold the mixture together with a spatula until just combined, being careful not to overmix.
Overmixing can lead to a tougher batter, which is undesirable.
You may still see a few lumps, and that’s perfectly fine.
Step 6: Let the Batter Rest

Allow the batter to rest for about 5-10 minutes.
This resting period helps the baking powder activate, enhancing the batter’s rise.
Cover the bowl lightly with a cloth to prevent drying out.
Don’t skip this step if you want a fluffy texture.
Step 7: Prepare the Baking Pan

Grease your baking pan with butter or cooking spray to prevent sticking.
You can also line it with parchment paper for easy removal.
Ensure the greasing is even, covering all corners and edges.
This will make serving much easier once your baked goods are ready.
Step 8: Pour Batter into Pan

Carefully pour the batter into the prepared baking pan.
Use a spatula to scrape the sides of the bowl to get every last bit of batter out.
Spread the batter evenly, leveling it off for uniform baking.
This step is crucial for even rising and baking.
Step 9: Bake in the Oven

Place the pan in the preheated oven and set a timer for 25 minutes.
Check for doneness by inserting a toothpick in the center; it should come out clean.
Avoid opening the oven door too soon, as this can cause the batter to collapse.
Baking at the right temperature ensures the baking powder works effectively.
Step 10: Allow to Cool

Once baked, remove the pan from the oven and let it cool on a wire rack.
Cooling allows the structure to set and prevents sogginess.
Let it cool for at least 10 minutes before attempting to remove it from the pan.
This patience will pay off in a beautiful presentation.
Step 11: Serve and Enjoy

After cooling, carefully remove the baked item from the pan.
Slice and serve warm or at room temperature.
Consider pairing with fresh fruits or whipped cream for added flavor.
Enjoy the fruits of your labor, and share with others if you can!
Critical Timing and Temperature Guide
Baking Time: Bake for 25 minutes or until a toothpick inserted into the center comes out clean. Be cautious of opening the oven door too early, as this may collapse your baked goods.
Cooling Time: Allow the baked item to cool for at least 10 minutes in the pan before transferring to a wire rack. This cooling period is essential for the texture to set properly.
Resting Time: Let the batter rest for 5-10 minutes before baking. This activates the baking powder, resulting in a lighter texture.
Pro Tips for How To Use Baking Powder In Recipes The Right Way
• Ingredient Selection: Always check the expiration date on your baking powder. Freshness is key to achieving the proper rise in your baked goods.
• Preparation Secret: If possible, sift the baking powder with dry ingredients for even distribution, which promotes consistent rising.
• Temperature Management: Ensure your ingredients are at room temperature for better emulsification and incorporation, particularly eggs and milk.
• Texture Enhancement: For a lighter texture, consider separating eggs and whipping the whites before folding them into the batter.
• Flavor Layering: Add a pinch of nutmeg or cinnamon to enhance the flavor profile without overpowering the primary ingredients.
• Make-Ahead Strategies: You can prepare the dry ingredients ahead and store them in an airtight container for up to a week, making last-minute baking easier.
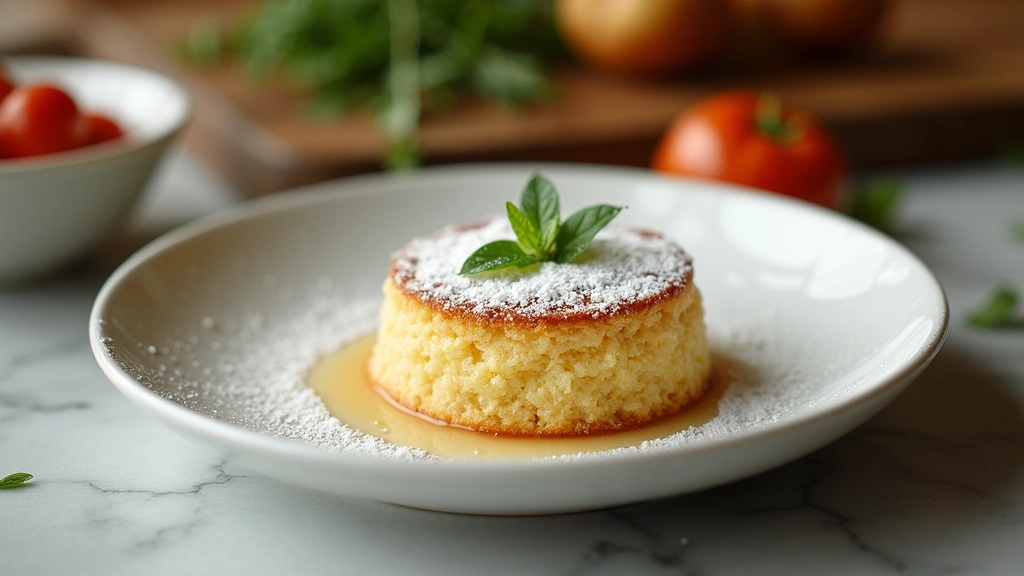
• Restaurant-Quality Finishing Touches: Dust with powdered sugar or add a drizzle of glaze right before serving for an elevated presentation.
• Equipment Optimization: Use a non-stick pan or line with parchment paper to ensure easy release and prevent sticking.
Troubleshooting Common Issues
• Texture Too Dense: This usually occurs from overmixing or expired baking powder. To remedy this, stop mixing as soon as no dry flour is visible and ensure your baking powder is fresh.
• Batter Doesn’t Rise: If your baked goods fail to rise, it could be due to old baking powder or not enough liquid. Always test the freshness of your baking powder by adding it to vinegar; it should fizz.
• Uneven Baking: This can happen if the oven temperature is inconsistent. Use an oven thermometer to check for hot spots and rotate your pan halfway through baking.
• Crumbly Texture: This might result from too much flour or not enough fat. Adjust your flour measurements and ensure you’re including the correct amount of fat.
• Overbaked Goods: If the edges are dark or hard, you probably baked too long. Set a timer and check for doneness a few minutes earlier than the recipe suggests.
Variations and Regional Differences
• Southern Biscuits: In the Southern United States, baking powder biscuits are a staple, often using buttermilk for a tangy flavor and extra fluffiness.
• Japanese Soufflé Pancakes: These airy pancakes use a similar baking powder technique but require a special folding method to achieve their signature height and fluffiness.
• Scones: British scones often incorporate baking powder and are flavored with fruits or spices, served with clotted cream and jam.
• Modern Interpretations: Gluten-free baking powder options have become popular, allowing for similar textures and flavors without wheat.
Food Science Behind the Recipe
• Leavening Reaction: Baking powder contains both an acid and a base, which react to produce carbon dioxide when combined with moisture and heat. This gas forms bubbles, causing the batter to rise and creating a light texture.
• Maillard Reaction: During baking, the sugars in the batter undergo the Maillard reaction, leading to browning and complex flavor development. Understanding this reaction can help you achieve the perfect color and taste.
• Emulsification: Properly combining wet and dry ingredients helps create an emulsion, allowing fat and water to blend. This is crucial for achieving a uniform batter and preventing separation.
Frequently Asked Questions
What’s the most common mistake people make when preparing recipes with baking powder? The biggest mistake is using expired baking powder. Always check the date and perform a freshness test to ensure it will work.
Can I prepare components of this dish in advance? Yes, you can measure and mix dry ingredients a few days in advance and store them in an airtight container. Just mix in the wet ingredients when ready to bake.
How do I adapt this recipe for dietary restrictions? Substitute all-purpose flour with a gluten-free blend and use a dairy-free milk for a suitable alternative.
What’s the best way to store and reheat leftovers? Store leftovers in an airtight container in the fridge for up to 3 days. Reheat in the oven at 350°F for a few minutes to regain texture.
Can I freeze this dish? Yes, you can freeze baked goods. Wrap them tightly in plastic wrap and store in a freezer-safe container for up to 3 months.
What wine or beverages pair best with this dish? Light white wines or herbal teas complement the flavors of baked goods, enhancing the overall experience.
How can I scale this recipe up for a crowd? Simply multiply each ingredient by the number of servings needed, ensuring you have a large enough mixing bowl and baking pan.
What side dishes complement this recipe best? Fresh fruit salads or whipped cream work beautifully alongside baked goods, adding contrast and balance.
How do professional chefs elevate this dish for restaurant service? They often use high-quality ingredients, add unique flavor extracts, and present the dish with artistic plating techniques.
Serving and Presentation Guide
• Traditional Presentation: Serve baked goods on a wooden board or a classic cake stand, garnished with powdered sugar or fresh fruits.
• Modern Plating Ideas: Create height by stacking slices and drizzling with sauces or creams for visual appeal.
• Accompaniment Suggestions: Pair with flavored whipped cream or a scoop of ice cream to complement the dish’s sweetness.
• Special Occasion Presentation: For celebrations, consider creating a tiered display with different flavors and colors, adding decorative touches like edible flowers.
Conclusion
Using baking powder correctly opens up a world of delightful baking possibilities.
With a few tips and techniques under your belt, you can create fluffy, light, and delicious baked goods that impress everyone.
So, gather your ingredients and make the most of this essential leavening agent today!