
Baking a cake is an art that intertwines creativity and precision, making it a delightful experience for both the baker and the eater.
The aroma of a freshly baked cake wafting through the kitchen is simply irresistible, evoking warmth and nostalgia.
I remember the first cake I ever baked with my grandmother, her patient guidance turning a simple recipe into a cherished memory.
Whether you’re celebrating a birthday, an anniversary, or just a quiet afternoon, these simple cake baking recipes are perfect for any occasion.
The History and Cultural Significance
• Cake baking can be traced back to ancient Egypt, where early forms of cakes were made with honey and nuts.
• Over centuries, cakes evolved from dense bread-like structures to the light, fluffy desserts we enjoy today, thanks to advancements in baking techniques and ingredients.
• In many cultures, cakes are integral to celebrations such as weddings and birthdays, symbolizing prosperity and joy.
• While variations exist globally, the essence of cake remains a symbol of festivity and togetherness.
Recipe Overview
Nutritional Information (per serving)


Ingredients


Essential Equipment Guide
Stand Mixer: A stand mixer is crucial for achieving the perfect batter consistency, ensuring even mixing without much effort. Look for a model with a powerful motor and multiple speed settings for versatility.
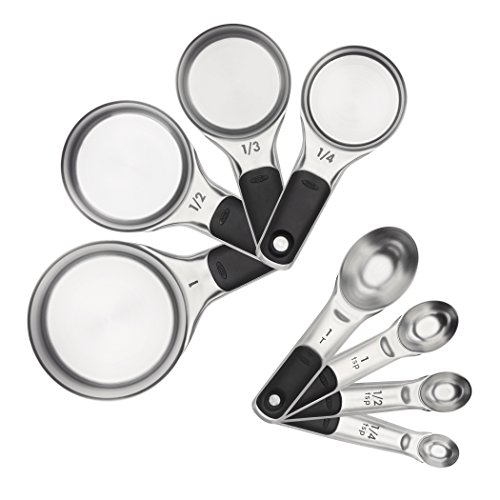
Measuring Cups and Spoons: Accurate measurements are vital in baking. Invest in a set of dry and liquid measuring cups that are clearly marked for precision.
9-inch Round Cake Pans: These pans are ideal for even baking and proper cake rise. Choose heavy-duty, non-stick pans for best results and easy release.


Preparation Methods
Creaming Butter and Sugar: This technique is essential for incorporating air into the batter, resulting in a light cake. Beat the butter and sugar together until the mixture is pale and fluffy for the best texture.
Folding: A gentle mixing method used to combine delicate ingredients without deflating the batter. Use a spatula to lift and fold the mixture from the bottom up, ensuring an even blend.
Testing for Doneness: Insert a toothpick into the center of the cake; if it comes out clean or with a few crumbs, the cake is ready. Avoid overbaking, which can lead to a dry texture.


Step 1: Prepare Ingredients

Gather all your ingredients and equipment before starting.
This ensures a smooth baking process without interruptions.
Measure each ingredient accurately using the right cups and spoons.
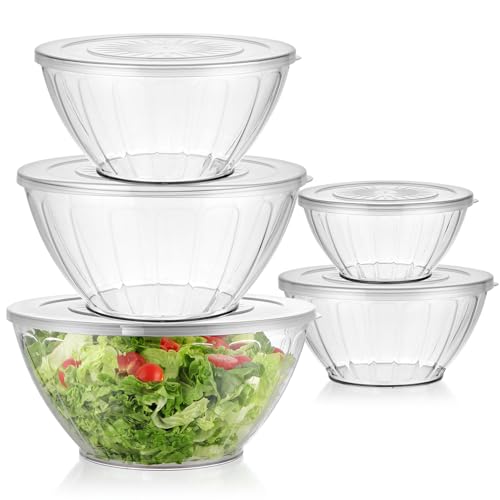
Have your mixing bowl and stand mixer ready to go.


Step 2: Cream Butter and Sugar

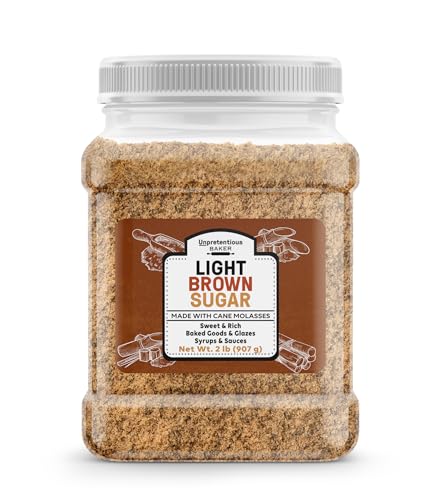
In a stand mixer, combine the softened butter and granulated sugar.
Beat them together on medium speed until the mixture is light and fluffy, about 3-5 minutes.
This step incorporates air into the batter, contributing to a light cake texture.
Make sure to scrape down the sides of the bowl to ensure even mixing.


Step 3: Add Eggs and Vanilla

Add the eggs to the creamed mixture one at a time, mixing well after each addition.
Then add the vanilla extract and mix until just combined.
This helps to incorporate the eggs smoothly into the batter.
Make sure not to overmix at this stage to maintain a tender cake.


Step 4: Combine Dry Ingredients

In a separate bowl, whisk together the flour, baking powder, baking soda, and salt.
This ensures that the leavening agents are evenly distributed throughout the flour.
Sifting the dry ingredients can help break up any lumps and aerate the mixture.
Set this mixture aside for the next step.


Step 5: Alternate Adding Dry Ingredients and Buttermilk

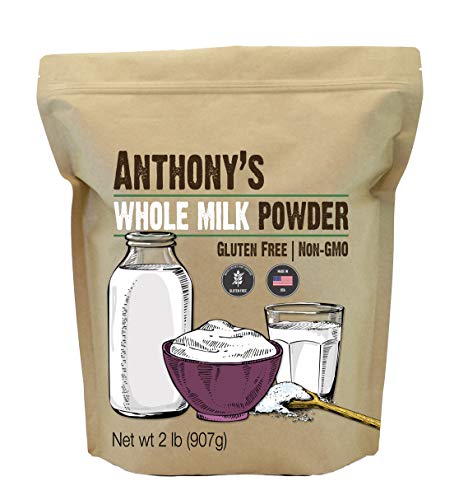
With the mixer on low speed, alternate adding the dry ingredient mixture and buttermilk to the creamed mixture.
Start with a third of the dry ingredients, then half of the buttermilk, repeating until everything is combined.
This method ensures a smooth batter without overmixing.
Be careful not to overmix to keep the cake light and fluffy.


Step 6: Prepare Cake Pans

Preheat your oven to 350°F (175°C) while preparing your cake pans.
Grease the 9-inch round cake pans with butter and lightly dust with flour to prevent sticking.
You can also use parchment paper for easier removal.
Ensure the pans are evenly coated to facilitate a smooth release after baking.
Step 7: Pour Batter into Pans

Evenly divide the batter between the prepared cake pans.
Use a spatula to smooth the tops for even baking.
Make sure to leave a little space at the top, as the batter will rise during baking.
This ensures that the cakes bake evenly without overflowing.
Step 8: Bake the Cakes

Place the pans in the preheated oven and bake for 25-30 minutes.
Check for doneness by inserting a toothpick into the center of the cakes; it should come out clean.
Rotate the pans halfway through baking for even heat distribution.
Once finished, remove the pans and let them cool for about 10 minutes before transferring to wire racks.
Step 9: Cool and Prepare for Frosting

After baking, allow the cakes to cool in the pans for 10 minutes.
Then, gently run a knife around the edges and invert the cakes onto wire racks.
Let them cool completely before frosting to avoid melting.
Cooling is essential for achieving a clean, polished finish when frosting.
Step 10: Frost the Cakes

Once the cakes are completely cool, place one layer on a serving plate.
Spread frosting evenly over the top before adding the second layer.
Finish frosting the sides and top, ensuring a smooth finish.
Decorate with sprinkles or fresh fruit for a festive touch.
Step 11: Slice and Serve

Using a sharp knife, slice the cake into even pieces.
Serve on plates with a dollop of whipped cream or a scoop of ice cream.
Enjoy the delightful flavors and tender texture of your homemade cake.
Share with friends and family for a truly special occasion.


Step 12: Enjoy!

Gather your loved ones around to enjoy the fruits of your labor.
Take a moment to appreciate the effort and creativity that went into baking this cake.
Savor each bite, knowing you’ve created something special.
Capture the joy and laughter that comes with sharing delicious food.
Critical Timing and Temperature Guide
Baking Time: Bake the cakes at 350°F (175°C) for 25-30 minutes, checking for doneness with a toothpick. Avoid opening the oven door frequently as it can cause the cakes to sink.
Cooling Time: Allow the cakes to cool in the pans for 10 minutes before transferring them to wire racks. This step is crucial to prevent the cakes from breaking apart.
Frosting Temperature: Ensure that the cakes are completely cool before frosting. If the cakes are warm, they can melt the frosting, resulting in a messy finish.
Pro Tips for Cake Baking Recipes For Any Occasion
• Ingredient Selection: Use high-quality butter and fresh eggs for a richer flavor and better texture.
• Preparation Secret: Always allow butter to come to room temperature for easier creaming, which enhances the cake’s texture.
• Temperature Management: Ensure all ingredients are at room temperature for better integration and an even bake.
• Texture Enhancement: Incorporate an extra egg yolk for added richness and moisture in the cake.
• Flavor Layering: Add lemon zest or almond extract for a delightful twist on flavor.
• Make-Ahead Strategies: You can bake the cakes a day in advance; wrap them tightly in plastic wrap and refrigerate until ready to frost.
• Restaurant-Quality Finishing Touches: Use a bench scraper to achieve smooth sides when frosting your cake.
• Equipment Optimization: Utilize a digital scale for precise ingredient measurements.
Troubleshooting Common Issues
• Texture Too Dense: This can occur if the flour is overmixed or measured incorrectly. Ensure you measure flour by spooning it into the cup and leveling it off, and mix until just combined.
• Uneven Baking: If your cakes are baking unevenly, check your oven temperature with an oven thermometer. Rotate the pans halfway through baking to promote even heat distribution.
• Too Crumbly: This may be due to not enough moisture or overbaking. Ensure you follow the recipe measurements precisely and check for doneness early.
• Frosting Sliding Off: If frosting melts or slides off, ensure the cake is completely cool before applying it. Chill the cake briefly in the fridge if necessary before frosting.
• Flavor Lacking: If the cake lacks flavor, try adding a pinch of salt to enhance sweetness or consider incorporating additional flavor extracts.


Variations and Regional Differences
• Chocolate Cake: This variation incorporates cocoa powder into the dry ingredients for a rich, chocolatey flavor, often paired with chocolate frosting.
• Carrot Cake: Using grated carrots and spices like cinnamon and nutmeg, this version is often paired with cream cheese frosting for a moist texture.
• Red Velvet Cake: A Southern classic, this cake features cocoa powder and red food coloring, topped with a tangy cream cheese frosting.
• Modern Interpretations: Recent trends include gluten-free flours, alternative sweeteners, or plant-based ingredients for dietary needs.


Food Science Behind the Recipe
• Creaming Method: The process of creaming butter and sugar introduces air into the batter, essential for leavening and achieving a light texture. Understanding this helps bakers know the importance of adequate mixing time.
• Gluten Development: When flour is mixed with liquid, gluten forms, providing structure to the cake. Overmixing can lead to a dense cake, so knowing when to stop mixing is crucial.
• Emulsification: Eggs act as emulsifiers, helping to blend fat and water for a stable batter. This results in a uniform texture and aids in moisture retention.
Frequently Asked Questions
What’s the most common mistake people make when preparing cake? The top mistake is overmixing the batter, which can lead to a tough texture. Mix just until combined for best results.
Can I prepare components of this dish in advance? Yes, you can bake the cakes a day ahead. Wrap them tightly and store them in the fridge until you’re ready to frost.
How do I adapt this recipe for dietary restrictions? To make it gluten-free, substitute all-purpose flour with a gluten-free blend. Ensure the blend contains xanthan gum for structure.
What’s the best way to store and reheat leftovers? Store leftover cake in an airtight container at room temperature for up to 3 days. Reheat individual slices in the microwave for 10-15 seconds to enjoy warm.
Can I freeze this dish? Yes, you can freeze the baked and cooled cakes. Wrap them tightly in plastic wrap and foil for up to 3 months. Thaw in the fridge before frosting.
What wine or beverages pair best with this dish? A sweet dessert wine or a light sparkling wine complements the cake beautifully.
How can I scale this recipe up for a crowd? Simply multiply the ingredients by the number of servings needed. For larger cakes, consider using a larger pan and adjusting baking time accordingly.
What side dishes complement this recipe best? Fresh fruit salad or a scoop of ice cream pairs well, enhancing the cake’s sweetness.
How do professional chefs elevate this dish for restaurant service? Professional chefs often add unique flavors or textures, such as candied citrus or gourmet frostings, to elevate an ordinary cake.
Serving and Presentation Guide
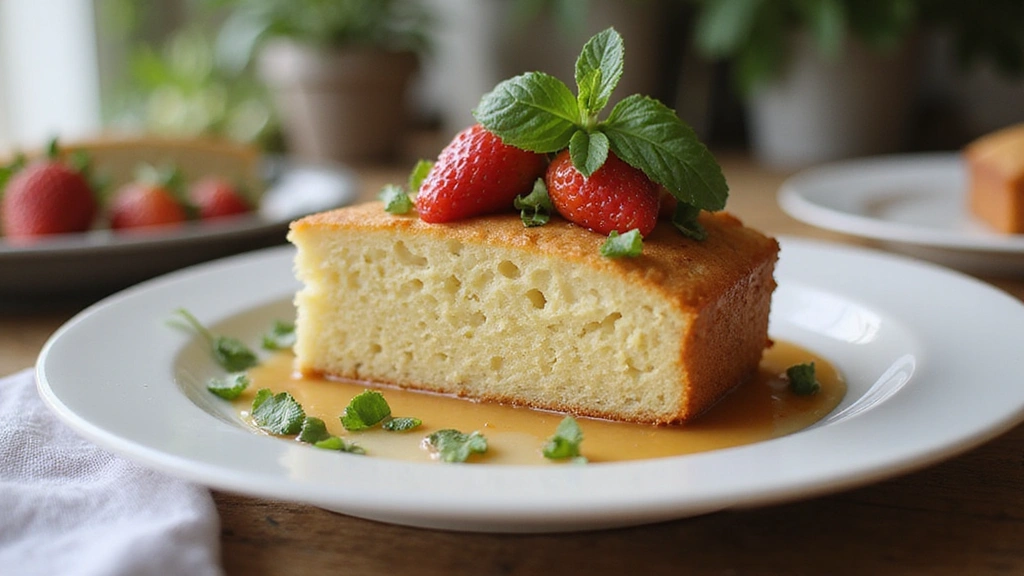
• Traditional Presentation: Serve the cake on a beautiful cake stand, garnished with fresh fruits and sprigs of mint for an elegant touch.
• Modern Plating Ideas: Create a deconstructed plate with a slice of cake alongside a drizzle of sauce and a scoop of ice cream, offering a contemporary twist.
• Accompaniment Suggestions: Pair with whipped cream or a fruit coulis for added flavor and visual appeal.
• Special Occasion Presentation: For celebrations, add edible flowers or gold leaf as a luxurious finishing touch.
Conclusion
Baking a cake is a wonderful way to celebrate life’s special moments.
I encourage you to try this simple recipe and make it your own with personal touches.
Enjoy the process, and may your cake bring joy to your gatherings!


