
Baking with 1 to 1 flour has transformed the way we approach gluten-free baking, allowing everyone to enjoy delicious treats without compromising on flavor or texture.
This versatile flour blend mimics the properties of traditional all-purpose flour, making recipes approachable and reliable.
I have personally experienced the delight of creating moist cakes and chewy cookies using this magical blend, bringing joy to my family and friends.
Whether you’re gluten-free or simply looking to experiment, these 1 to 1 baking flour recipes will inspire your culinary creativity.
The History and Cultural Significance
• 1 To 1 Baking Flour Recipes That Always Work traces its origins to the rise of gluten-free diets in the late 20th century, where it was originally created to cater to those with celiac disease.
• The dish evolved over decades as more consumers demanded gluten-free options, leading to the development of versatile flour blends that mimic traditional baking properties.
• In modern culinary culture, these recipes traditionally appear at family gatherings, holiday celebrations, and potlucks, symbolizing inclusivity in the dining experience.
• While many variations exist across different brands and recipes, the authentic approach maintains a balance of flavor and texture that sets it apart from other gluten-free options.
Recipe Overview
Nutritional Information (per serving)
Ingredients
Essential Equipment Guide
Mixing Bowls: Essential for combining ingredients, ensuring even distribution, and avoiding spills. Look for sturdy, easy-to-clean materials like glass or stainless steel for durability and stability during mixing.
Measuring Cups and Spoons: Accurate measurements are crucial in baking. Invest in a set that includes both dry and liquid measuring tools for precision in your recipes.
Silicone Baking Mats: These provide a non-stick surface for baking, preventing sticking and ensuring even browning. They are reusable and easy to clean, making them a sustainable choice for any baker.
Preparation Methods
Measuring Ingredients: Accurate measurement of ingredients is crucial to the success of baking recipes. Use dry measuring cups for flour and sugar, leveling off the top for precision.
Mixing Techniques: Use the creaming method for the butter and sugar, which helps incorporate air into the batter. Mix until light and fluffy, which is key for achieving the right texture in baked goods.
Oven Preheating: Preheating your oven is essential for consistent baking. Allow the oven to reach the desired temperature before placing your batter inside to achieve the best rise and texture.
Step 1: Preheat the Oven

Start by preheating your oven to 350°F (175°C).
This ensures that your baked goods will cook evenly from the moment they go in.
It’s important to allow the oven to fully preheat before adding your batter.
An oven thermometer can help you verify that your oven reaches the correct temperature.
Step 2: Prepare Baking Pans

Grease your baking pans with butter or cooking spray to prevent sticking.
Ensure that the entire surface is coated, including corners and edges.
You might also consider lining the bottom with parchment paper for extra assurance.
This step is essential for easy removal of your baked goods after cooking.
Step 3: Mix Dry Ingredients

In a large mixing bowl, combine the 1 to 1 baking flour, baking powder, and salt.
Whisk these ingredients together until they are well blended.
This step is critical to ensure even distribution of the leavening agent.
You should see no clumps, and the mixture should appear uniform in color.
Step 4: Cream Sugar and Oil

In another bowl, combine the granulated sugar and vegetable oil.
Using an electric mixer, beat them together until the mixture is light and fluffy.
This process incorporates air, which is key to a light texture in your baked goods.
Scrape down the sides of the bowl periodically to ensure even mixing.
Step 5: Add Eggs and Milk

Add the eggs one at a time, mixing well after each addition.
Then, gradually pour in the milk and mix until fully combined.
This step enriches the batter, ensuring a moist final product.
The mixture should be smooth and free of lumps before proceeding.
Step 6: Combine Wet and Dry Mixtures

Gradually add the dry ingredients to the wet mixture, mixing on low speed.
Be careful not to overmix, as this can lead to a denser texture.
Stop mixing when just combined, allowing some lumps to remain for a tender crumb.
This step is important to maintain the light quality of the batter.
Step 7: Pour Batter into Pans

Divide the batter evenly between the prepared baking pans.
Use a spatula to smooth the tops for even baking.
Filling the pans about two-thirds full is a good rule of thumb to prevent overflow.
This ensures that your baked goods rise properly without spilling over.
Step 8: Bake and Check for Doneness

Place the pans in the preheated oven and bake for 25-30 minutes.
Check for doneness by inserting a toothpick in the center; it should come out clean.
If the tops are browning too quickly, you can cover them with foil halfway through baking.
This step is crucial to ensure your baked goods are cooked through and not dry.
Step 9: Cool and Remove from Pans

Once baked, remove the pans from the oven and allow them to cool for about 10 minutes.
Gently run a knife around the edges to loosen the cakes before flipping them out.
Let the cakes cool completely on wire racks before frosting or serving.
Proper cooling is crucial for achieving the right texture and preventing sogginess.
Critical Timing and Temperature Guide
Preheating the Oven: Always preheat your oven to 350°F (175°C) before placing the batter inside. This ensures your baked goods rise properly from the moment they go in. Watch for the oven indicator light or use an oven thermometer for accuracy.
Baking Time: Bake for 25-30 minutes, checking doneness with a toothpick inserted into the center. If the toothpick comes out clean or with a few crumbs, your baked goods are ready. Avoid opening the oven door too soon, as this can cause them to collapse.
Cooling Time: Allow cakes to cool in the pan for about 10 minutes before transferring to a wire rack. If they are too hot when removed, they could fall apart. Be patient to ensure a perfect texture.
Pro Tips for 1 To 1 Baking Flour Recipes That Always Work
• Ingredient Selection: Use high-quality eggs and milk for richer flavor and moisture content in your baked goods.
• Preparation Secret: Allow your eggs and milk to come to room temperature before mixing; this helps create a smoother batter.
• Temperature Management: Ensure your oven is accurately calibrated to avoid undercooked or burnt baked goods.
• Texture Enhancement: Use a light hand when mixing wet and dry ingredients to prevent dense, tough cakes.
• Flavor Layering: Add vanilla extract or citrus zest to enhance the overall flavor profile of your baked goods.
• Make-Ahead Strategies: Prepare the batter a day in advance and store it in the fridge, but allow it to come to room temperature before baking.
• Restaurant-Quality Finishing Touches: Dust with powdered sugar or top with a simple glaze for an elegant finish.
• Equipment Optimization: Invest in high-quality mixing bowls and spatulas for better results in texture and mixing consistency.
Troubleshooting Common Issues
• Texture Too Dense: This is often caused by overmixing or using too much flour. If you notice a dense texture, reduce mixing time and ensure accurate measurements using the spoon and level method for flour.
• Underbaked Centers: If your baked goods are brown on the outside but raw in the center, it may be due to inaccurate oven temperature. Invest in an oven thermometer to ensure proper baking temperatures.
• Dry or Crumbly Texture: This can occur from overbaking or insufficient moisture. Make sure to monitor baking times closely and consider adding a bit more liquid if your batter seems thick.
• Uneven Rise: If your cakes rise unevenly, check that your oven is properly leveled and that your batter is evenly distributed in the pan.
• Sticking to the Pan: This usually happens when the pans aren’t greased properly or when the cakes aren’t cooled adequately before removal. Always grease pans thoroughly and let them cool for the recommended time.
Variations and Regional Differences
• Southern Style Cake: This version often incorporates buttermilk instead of regular milk, providing a tangy flavor and richer texture, popular in Southern baking traditions.
• Chocolate Variation: Adding cocoa powder to the dry ingredients creates a delicious chocolate version. Adjust sugar levels accordingly to balance the bitterness of cocoa.
• Fruit-Infused Cakes: Incorporating fresh fruits like blueberries or raspberries gently into the batter offers a refreshing twist and adds natural sweetness.
• Modern Interpretations: Many bakers now substitute traditional sugars with coconut sugar or honey for a healthier, more wholesome dessert option.
Food Science Behind the Recipe
• Gelatinization: The process where starches in the flour absorb moisture and swell during baking, which is critical for achieving the right texture in baked goods.
• Emulsification: The mixing of oil and water-based ingredients (like eggs and milk) creates a stable batter, which helps in achieving the perfect rise and crumb in cakes.
• Maillard Reaction: This chemical reaction between amino acids and reducing sugars gives baked goods their appealing golden-brown crust and complex flavors.
Frequently Asked Questions
What’s the most common mistake people make when preparing 1 to 1 baking flour recipes? Overmixing the batter is the top mistake, which can lead to dense baked goods. Mix until just combined for the best texture.
Can I prepare components of this dish in advance? Yes, you can prepare the batter a day ahead and refrigerate it. Just let it come to room temperature before baking.
How do I adapt this recipe for dietary restrictions? You can use plant-based milk and flax eggs for a vegan version, maintaining the same measurements for substitution.
What’s the best way to store and reheat leftovers? Store leftovers in an airtight container at room temperature for up to 3 days. Reheat in the microwave or oven for best results.
Can I freeze this dish? Yes, you can freeze the baked goods for up to 3 months. Thaw overnight in the fridge and reheat as needed.
What wine or beverages pair best with this dish? Sweet dessert wines or coffee pair beautifully, complementing the sweetness of the baked goods.
How can I scale this recipe up for a crowd? Simply multiply the ingredients by the number of servings desired, but be mindful of adjusting baking times depending on the volume.
What side dishes complement this recipe best? A scoop of vanilla ice cream or fresh whipped cream adds a delightful contrast to the sweetness of the cake.
How do professional chefs elevate this dish for restaurant service? Chefs often use unique flavor infusions or high-quality garnishes, like edible flowers or gourmet sauces, to create visually stunning presentations.
Serving and Presentation Guide
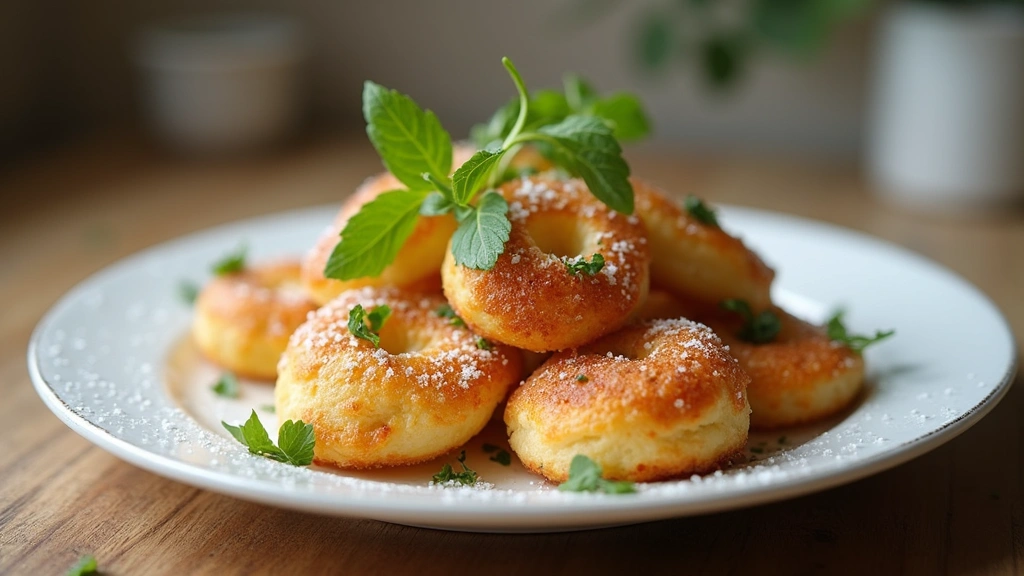
• Traditional Presentation: Serve the cake on a simple white plate, dusted with powdered sugar, and garnished with fresh fruit or mint leaves for a classic look.
• Modern Plating Ideas: Consider layering slices with colorful fruit compote or a drizzle of chocolate sauce for a more contemporary approach.
• Accompaniment Suggestions: Pair with a dollop of whipped cream or a scoop of ice cream to enhance the dessert experience.
• Special Occasion Presentation: For celebrations, layer the cake and frost between layers with rich chocolate ganache or cream cheese frosting, and top with seasonal fruits.
Conclusion
Baking with 1 to 1 flour opens up a world of possibilities for everyone to enjoy delicious treats.
I encourage you to try these recipes and share the joy with your loved ones.
With just a few simple steps, you can create delightful treats that everyone will rave about.


